
20 Easy DIY Christmas Decorations for Your Home
20 Easy DIY Christmas Decorations for Your Home
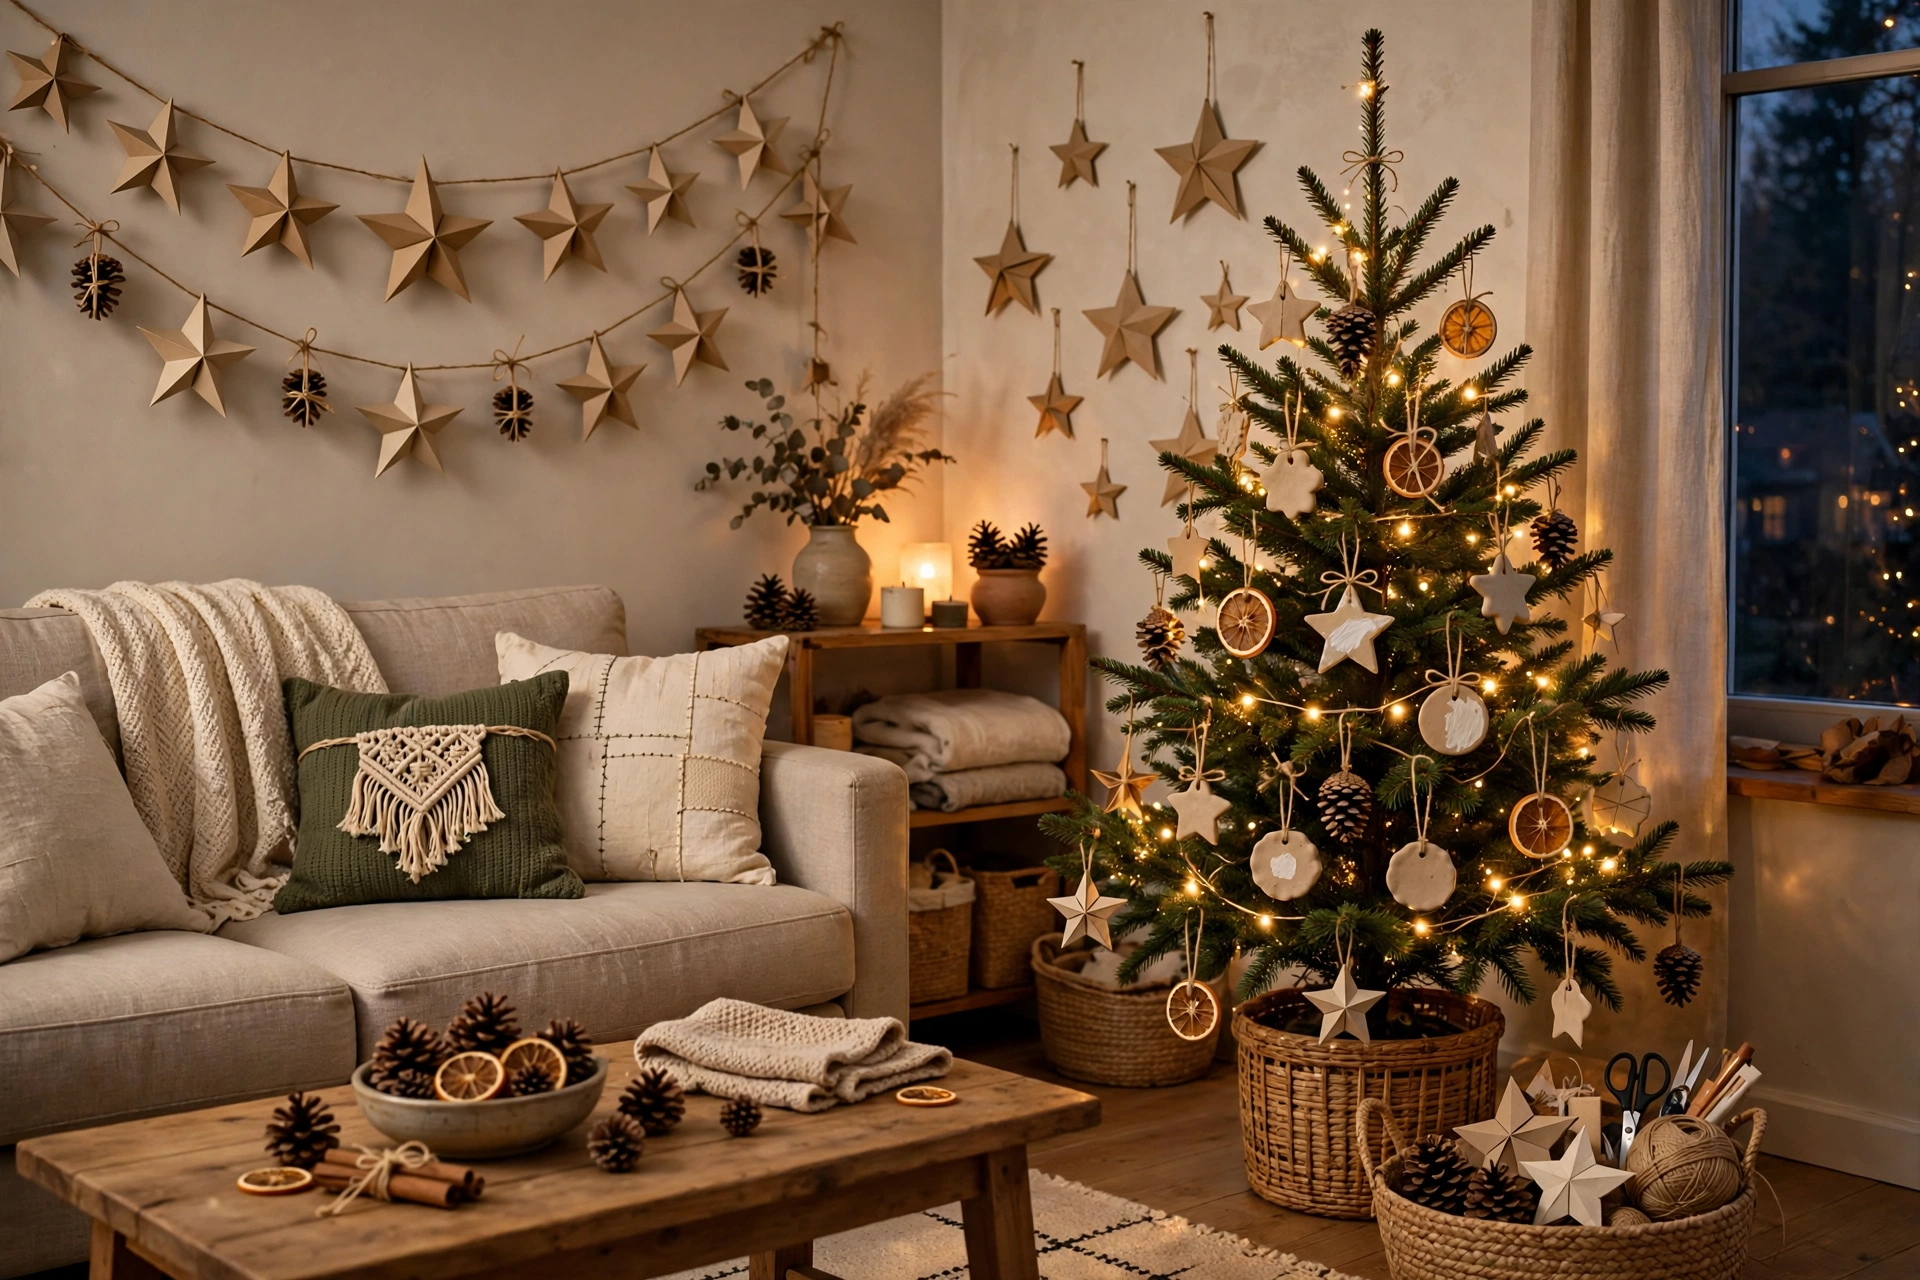
Table of Contents
- Introduction
- Idea 1: Salt Dough Ornaments
- Idea 2: Mason Jar Snow Globes
- Idea 3: Pinecone Christmas Tree
- Idea 4: Paper Star Garland
- Idea 5: Dried Orange Slice Garland
- Idea 6: DIY Advent Calendar
- Idea 7: Burlap Stockings
- Idea 8: Twig Christmas Tree Wall Art
- Idea 9: Cinnamon Stick Candles
- Idea 10: Felt Christmas Tree for Kids
- Idea 11: Painted Wooden Ornaments
- Idea 12: Ribbon Christmas Wreath
- Idea 13: Wine Cork Reindeer
- Idea 14: Snowy Mason Jar Lanterns
- Idea 15: Paper Chain Christmas Garland
- Idea 16: Gingerbread House Display
- Idea 17: Button Christmas Tree Card Display
- Idea 18: Pom Pom Christmas Garland
- Idea 19: DIY Christmas Table Runner
- Idea 20: Recycled Cardboard Christmas Village
- Practical Tips for DIY Christmas Decorations
- Frequently Asked Questions
- Conclusion
Introduction
Easy DIY Christmas decorations turn simple materials into warm, personal touches for your home. You do not need fancy tools or a large budget — paper, pinecones, jars, fabric scraps, and a little glue can become ornaments, garlands, and displays the whole family can enjoy making together. Choose projects that fit your space and skill level, work on a covered table, and let children help with safe, age-appropriate steps. For safety, use battery candles inside jars and lanterns, keep paper, wood, and fabric away from heat and open flames, and never leave candles unattended. The ideas below are simple, practical, and easy to adapt with materials you may already have at home.
Idea 1: Salt Dough Ornaments
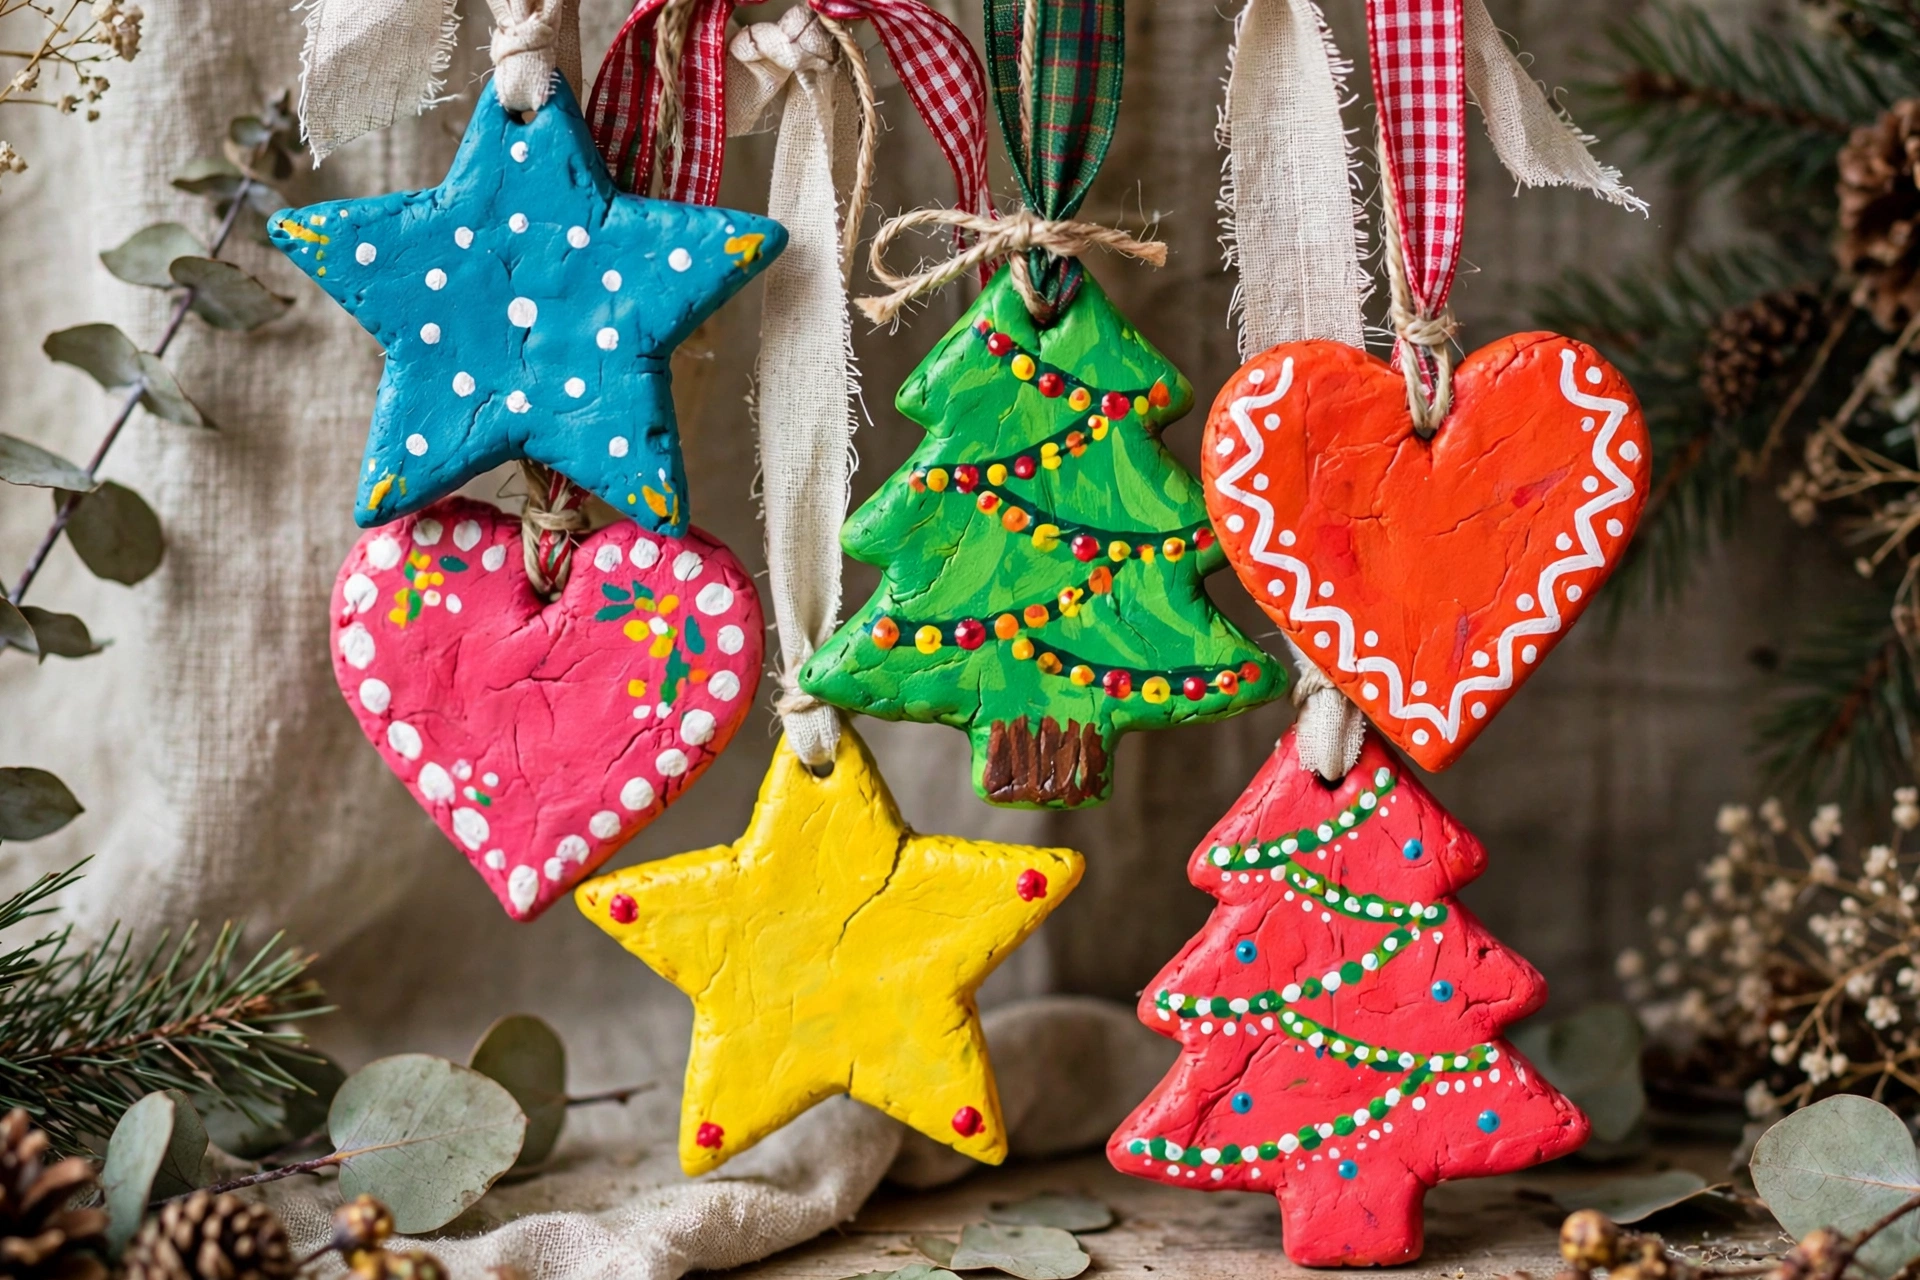
Mix flour, salt, and water into a soft dough, cut out stars, trees, and hearts, and bake until firm. Once cool, paint them in bright colors and thread ribbon through a small hole for hanging. Seal with clear varnish so the ornaments last for future Christmases.
Idea 2: Mason Jar Snow Globes
Place a small Christmas figurine inside a clean mason jar, add fake snow and a little water, then seal the lid tightly. Turn the jar upside down and shake gently to watch the snow fall around the scene. Keep the jar on a shelf away from edges so it does not fall.

Idea 3: Pinecone Christmas Tree
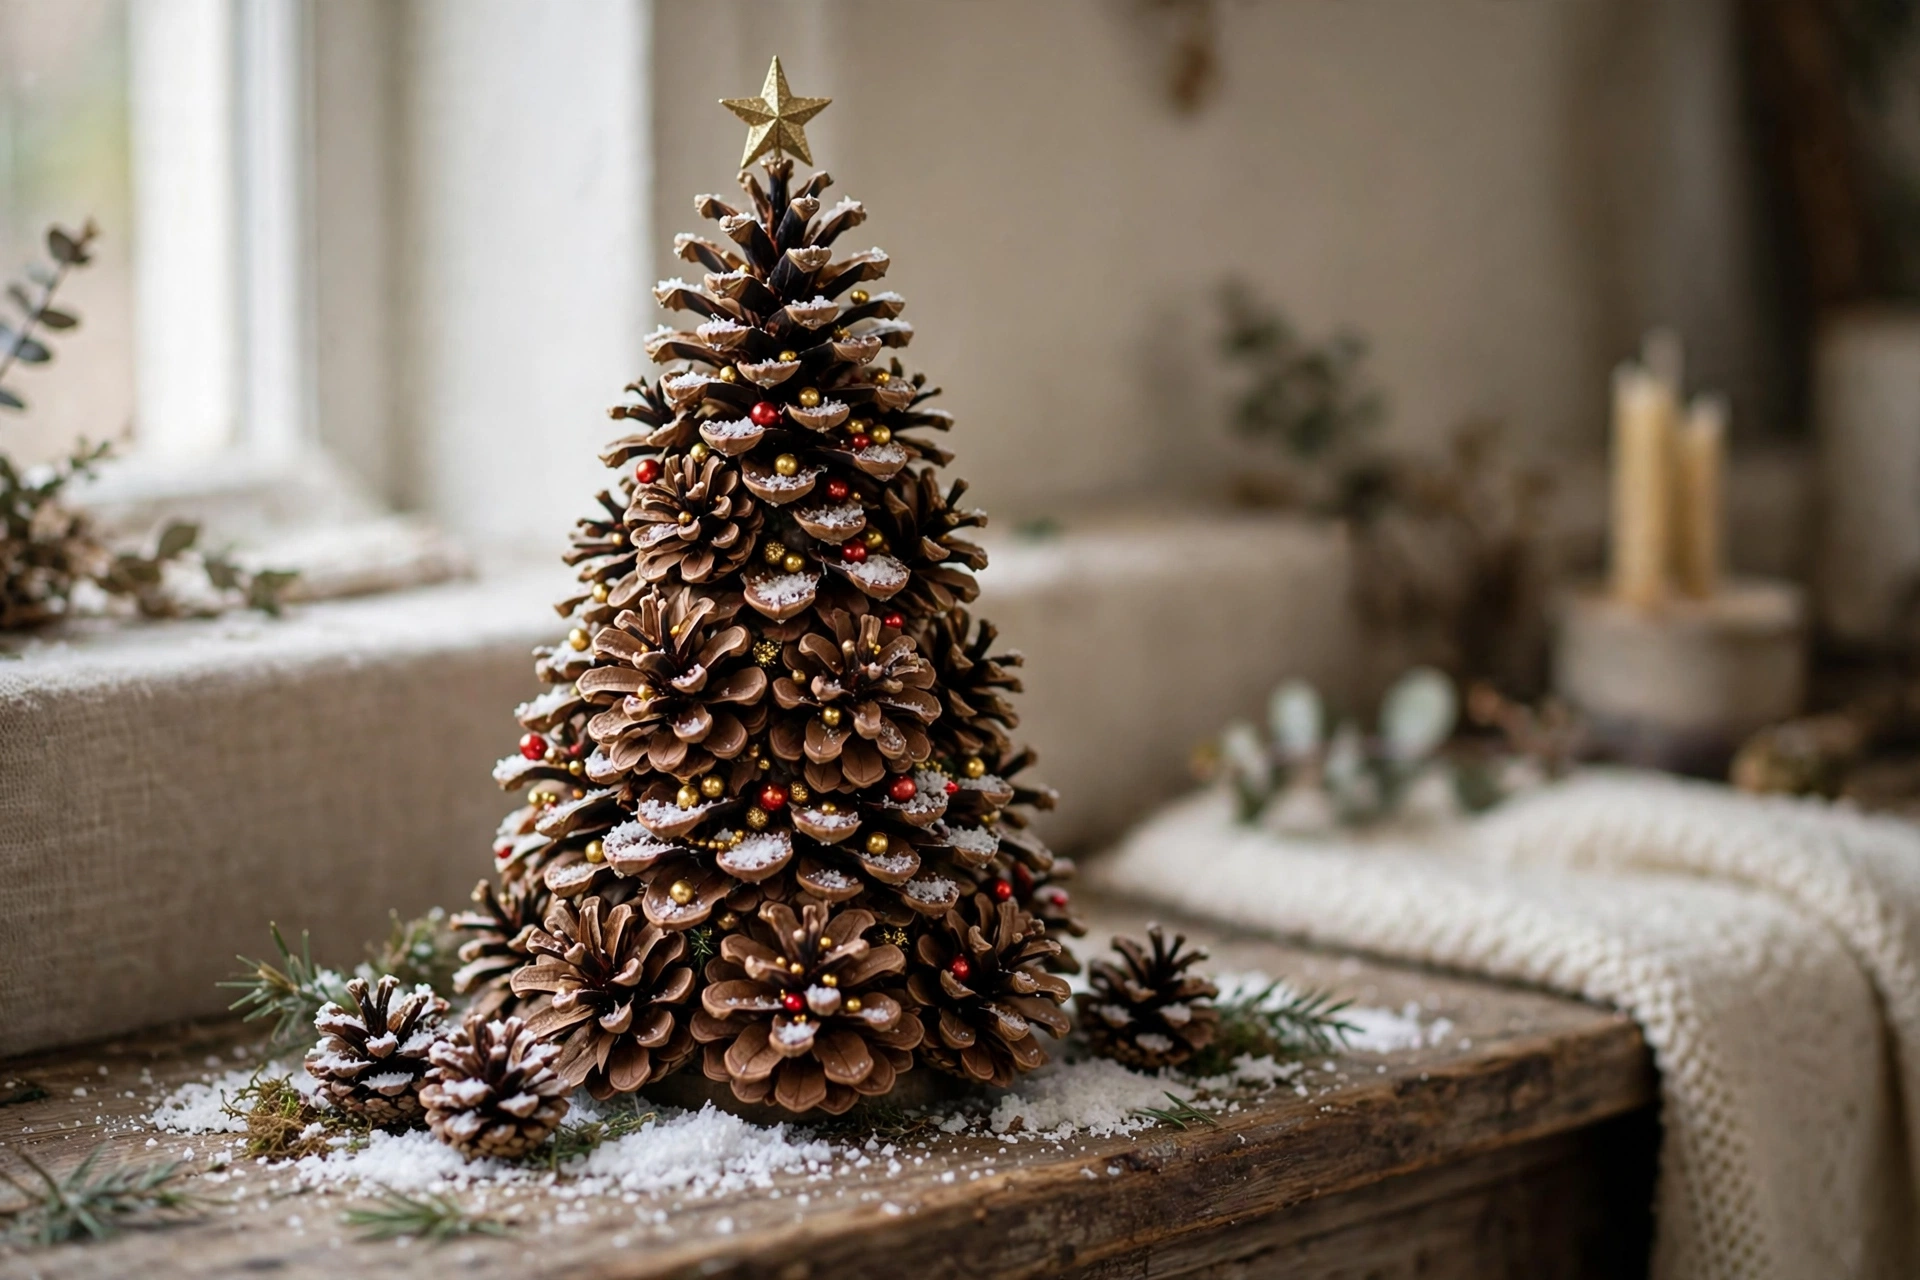
Glue small pinecones in a cone shape on a cardboard base, starting with larger cones at the bottom and smaller ones at the top. Add tiny beads, a star on top, and a light dusting of fake snow. This rustic tree looks lovely on a mantel or side table.
Idea 4: Paper Star Garland
Fold and cut paper into five-pointed stars, then string them together with twine, alternating colors for a cheerful look. Hang the garland across a mantel, doorway, or window for instant festive charm. Use sturdy paper so the stars hold their shape all season.

Idea 5: Dried Orange Slice Garland
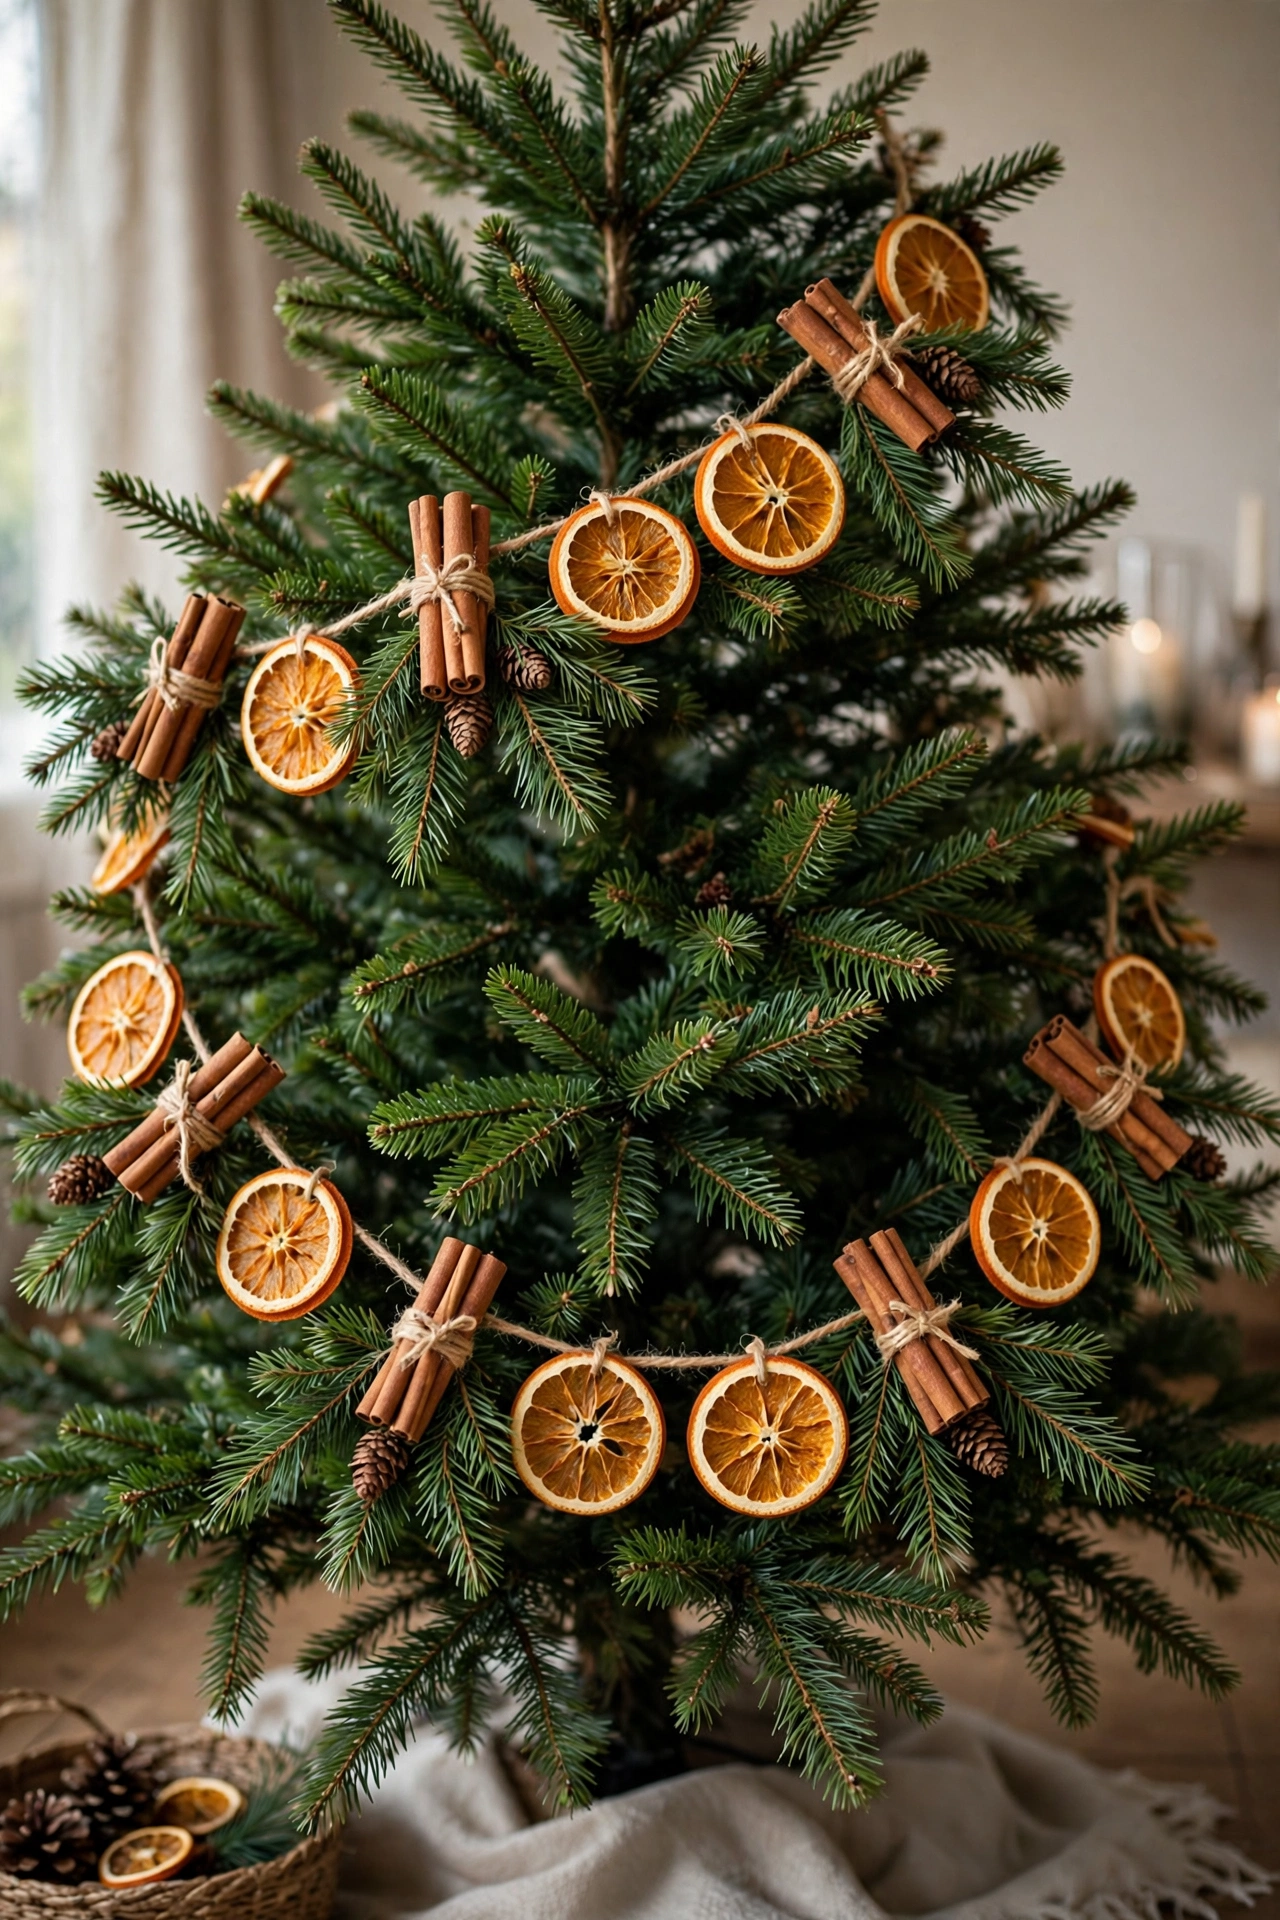
Slice oranges thinly, dry them slowly in a low oven until firm, then thread them on twine with cinnamon sticks and pine sprigs. Hang the garland on a tree or mantel for a warm, natural scent and look. Store the slices in a dry place to reuse next year.
Idea 6: DIY Advent Calendar
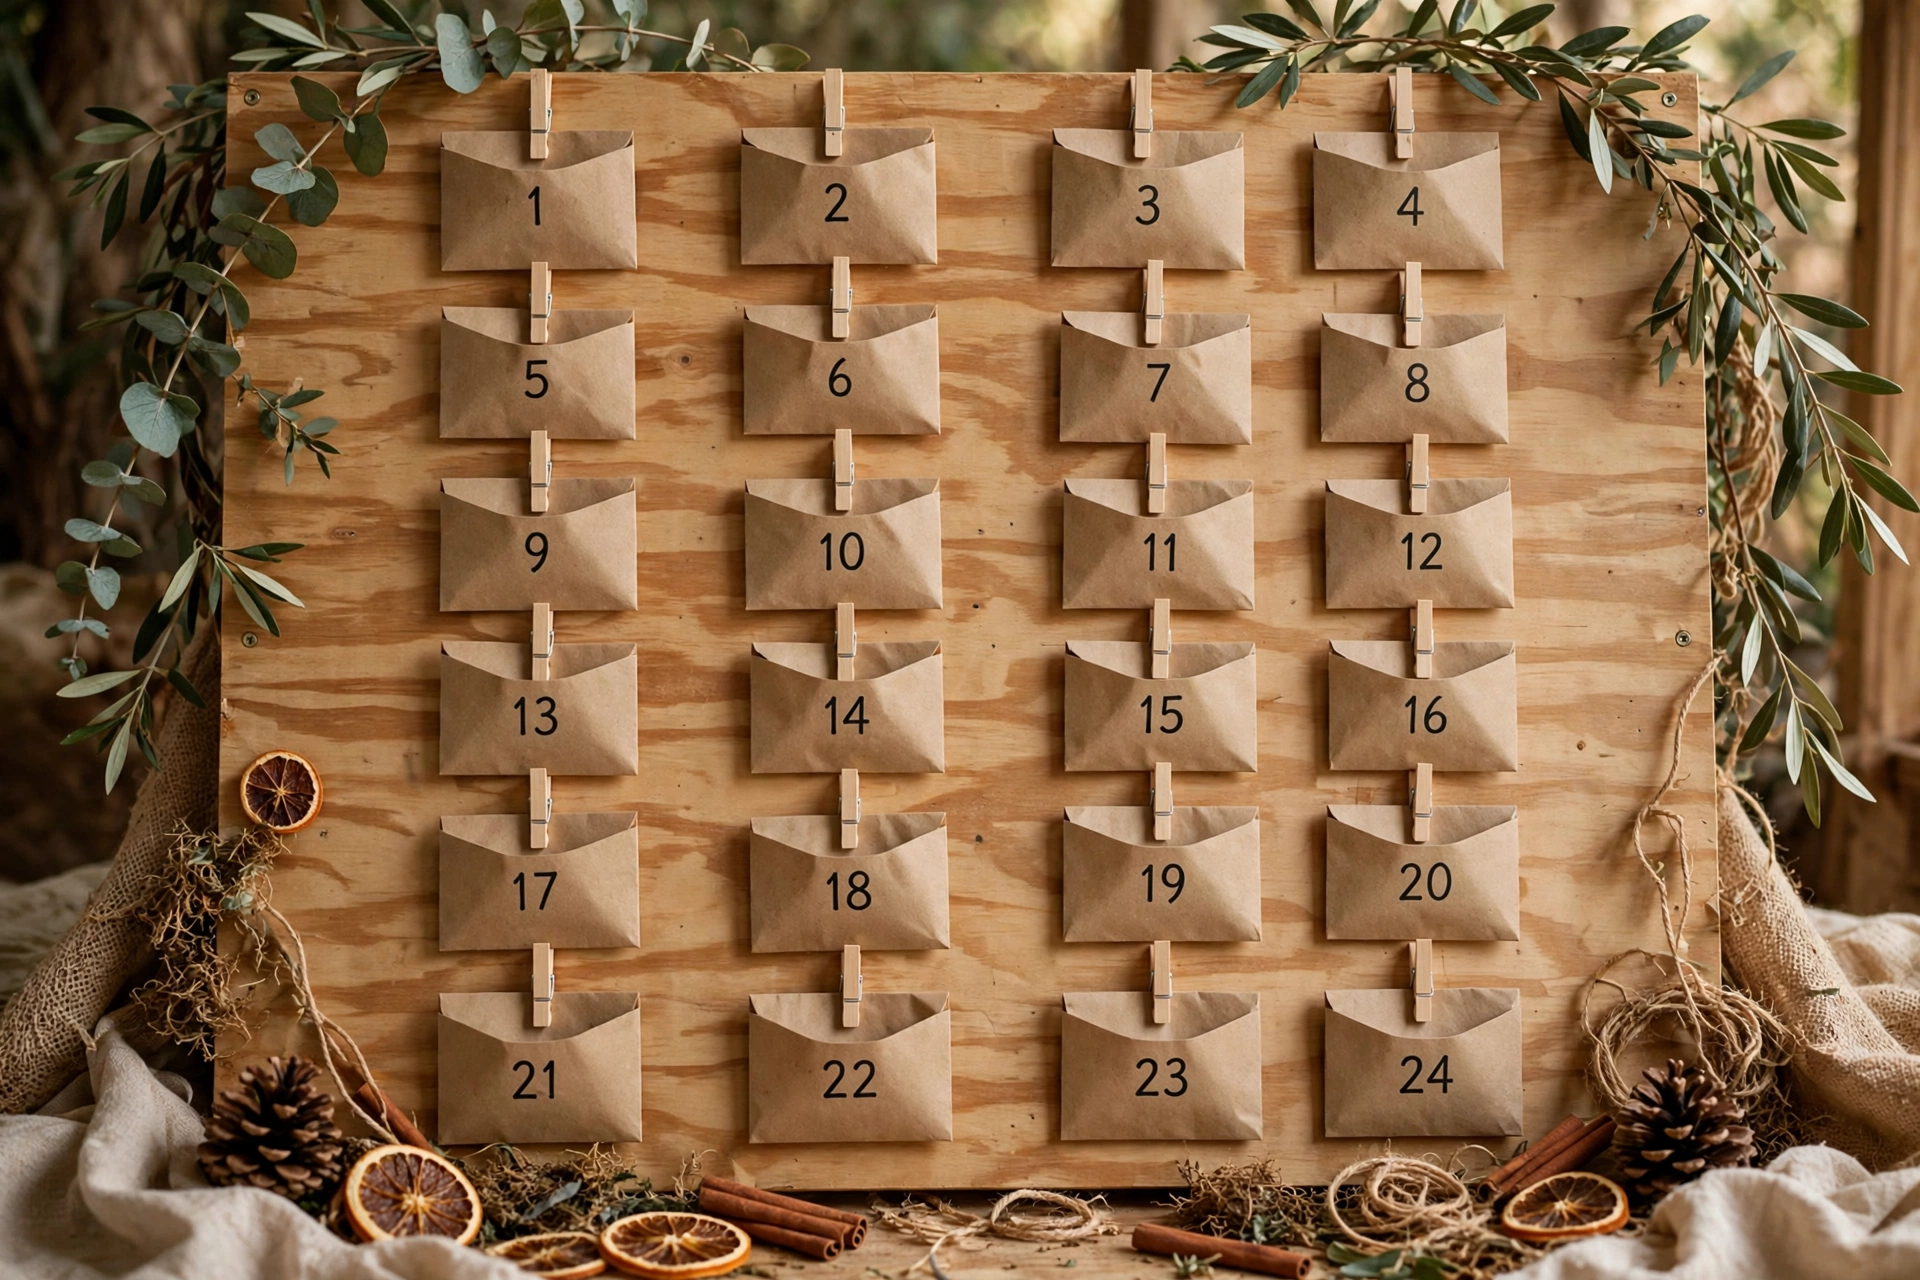
Make 24 small pockets or boxes from kraft paper or fabric, number them, and fill each with a small treat or kind note. Hang them on a board, string, or tree branch so children can open one each day. Reuse the calendar every year by refilling the pockets.
Idea 7: Burlap Stockings
Cut two stocking shapes from burlap fabric, sew the edges together, and add a simple cuff and loop for hanging. Decorate with a name tag, button, or small felt shape for a personal touch. Burlap gives a cozy, rustic feel that suits a farmhouse-style Christmas.

Idea 8: Twig Christmas Tree Wall Art
Arrange straight twigs from longest to shortest on a board or directly on the wall to form a simple tree shape. Tie the twigs with twine, add a few small ornaments and a star at the top, and hang it flat. This space-saving tree is perfect for small rooms and apartments.

Idea 9: Cinnamon Stick Candles
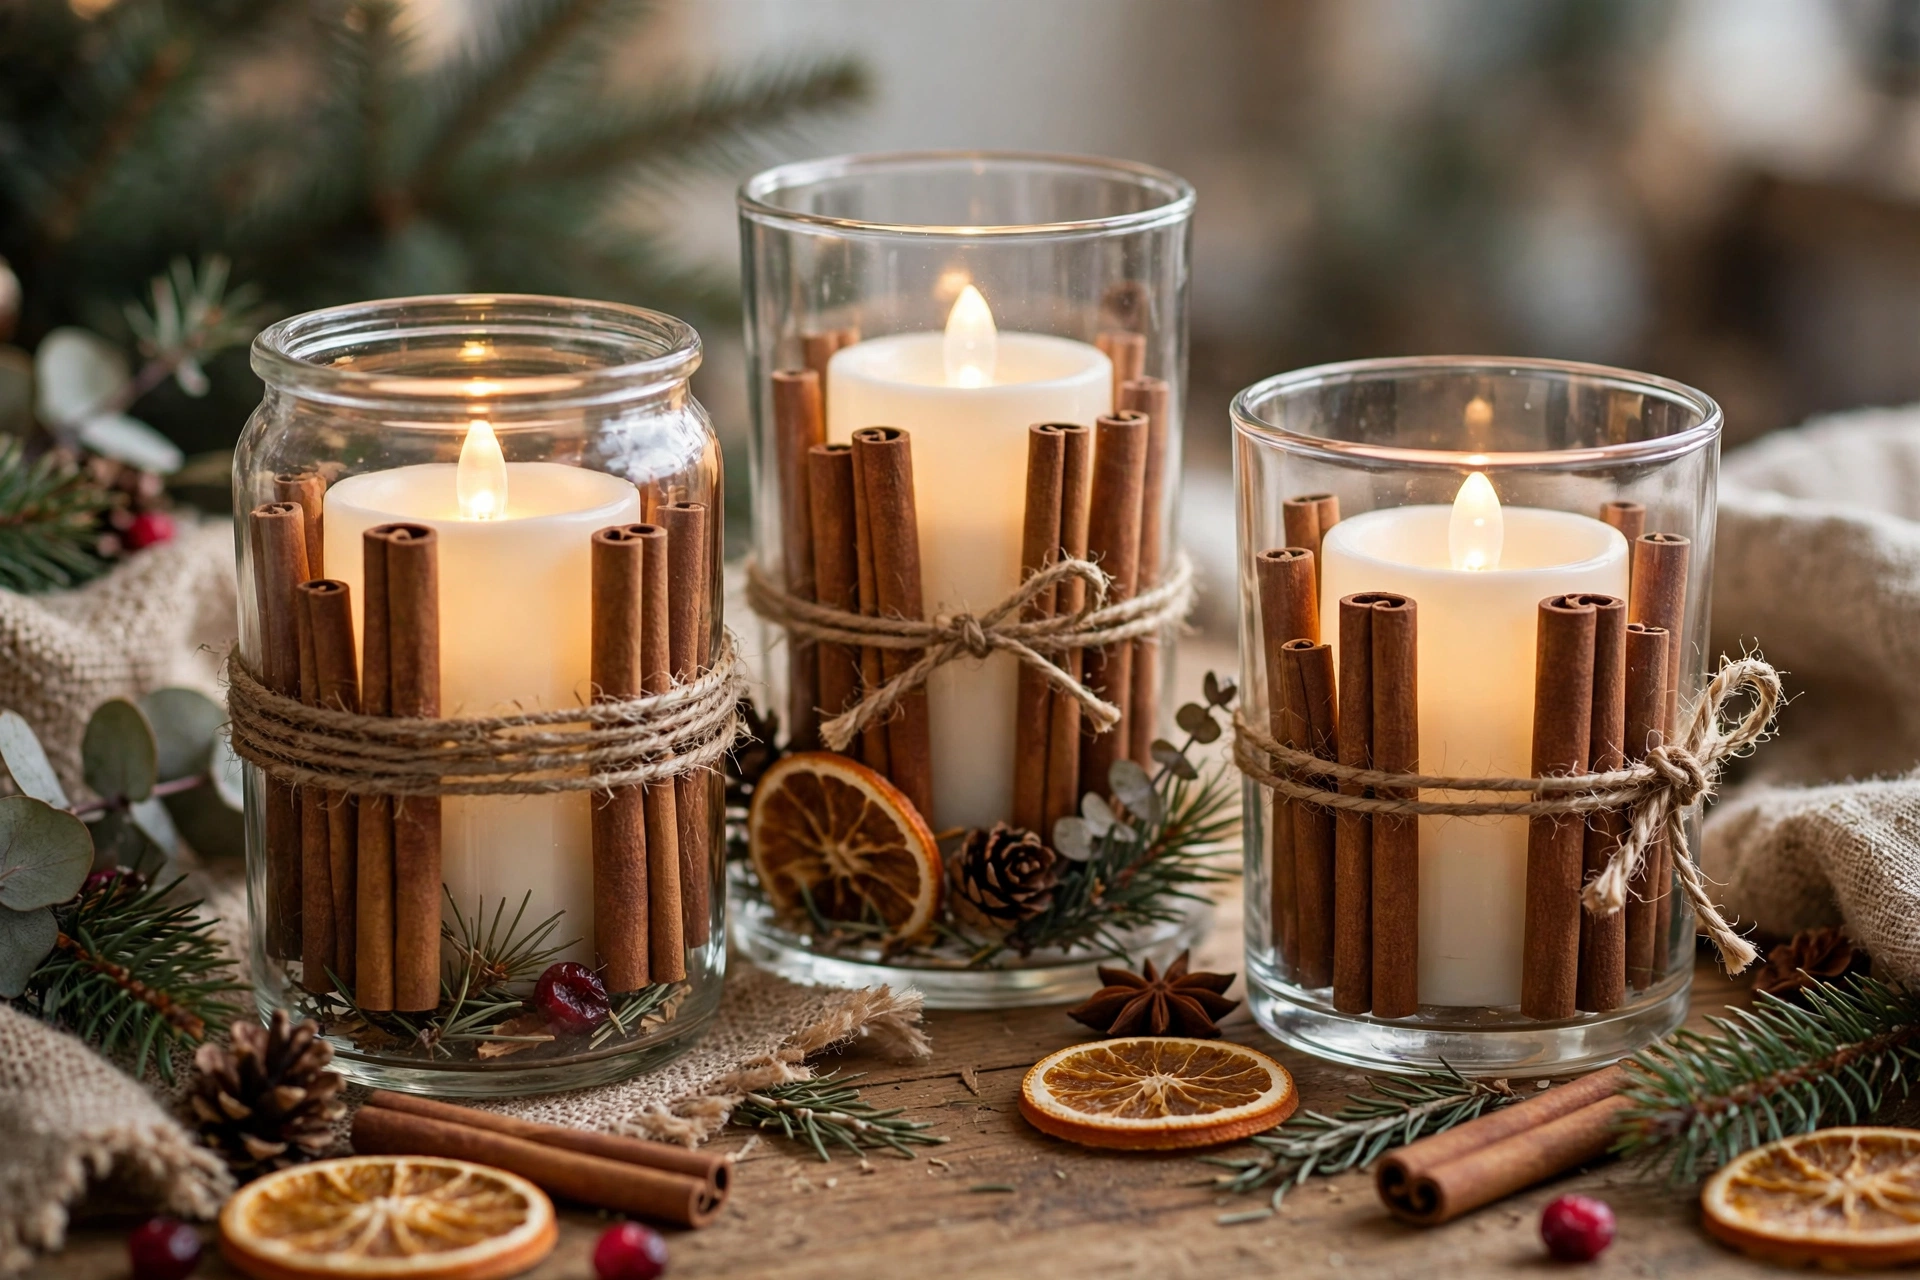
Wrap cinnamon sticks around a battery candle with twine and tie a small bow for a warm, festive look. Place the candle inside a glass holder or lantern so it is safe and stable. The cinnamon adds a lovely scent without any open flame.
Idea 10: Felt Christmas Tree for Kids
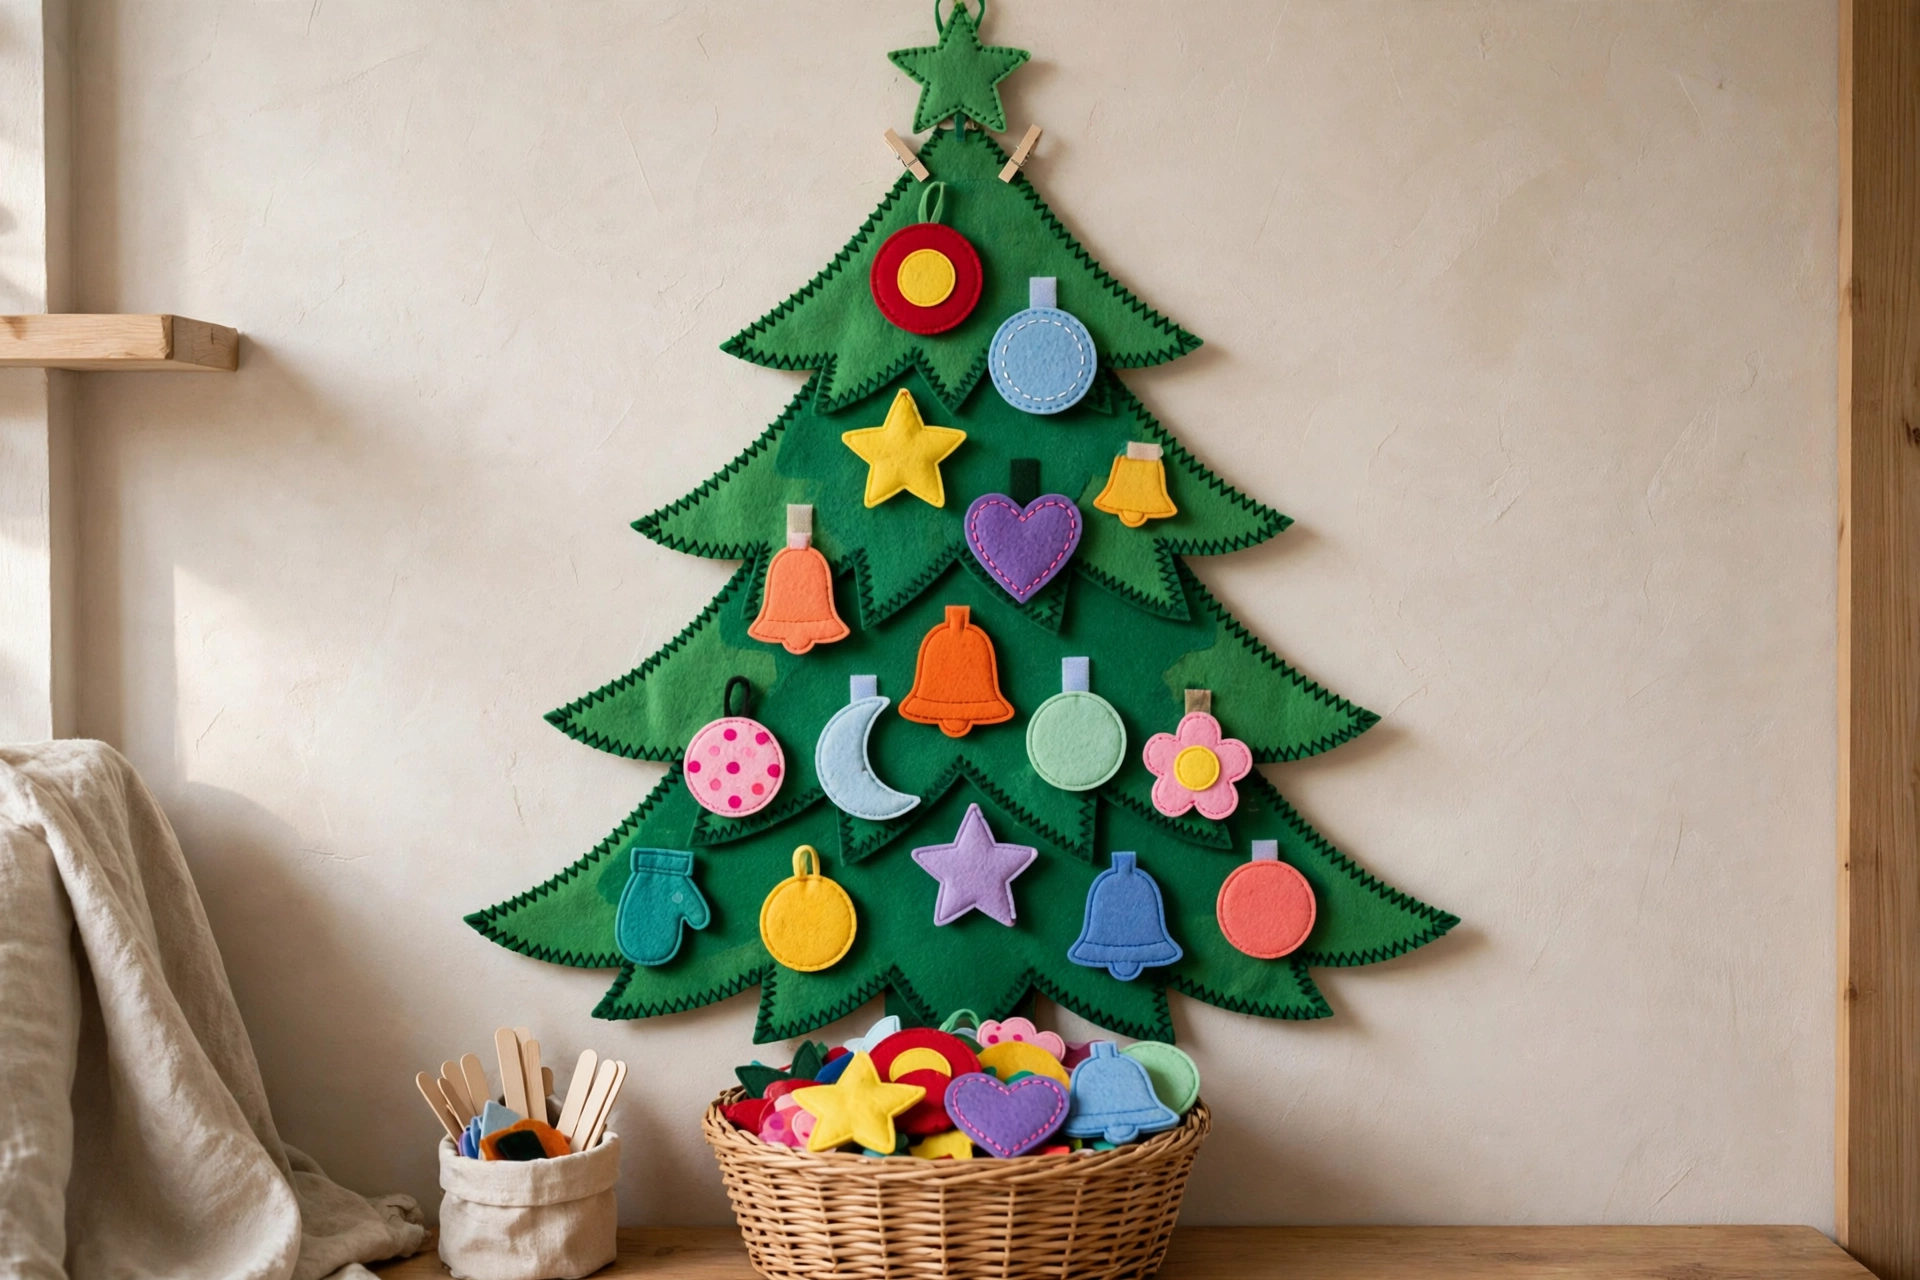
Cut a large tree shape from green felt and stick it to a wall or board at child height, then cut felt ornaments, stars, and gifts for little hands to arrange. Children can redecorate the tree again and again without breaking anything. Store the felt pieces in a bag to reuse each year.
Idea 11: Painted Wooden Ornaments
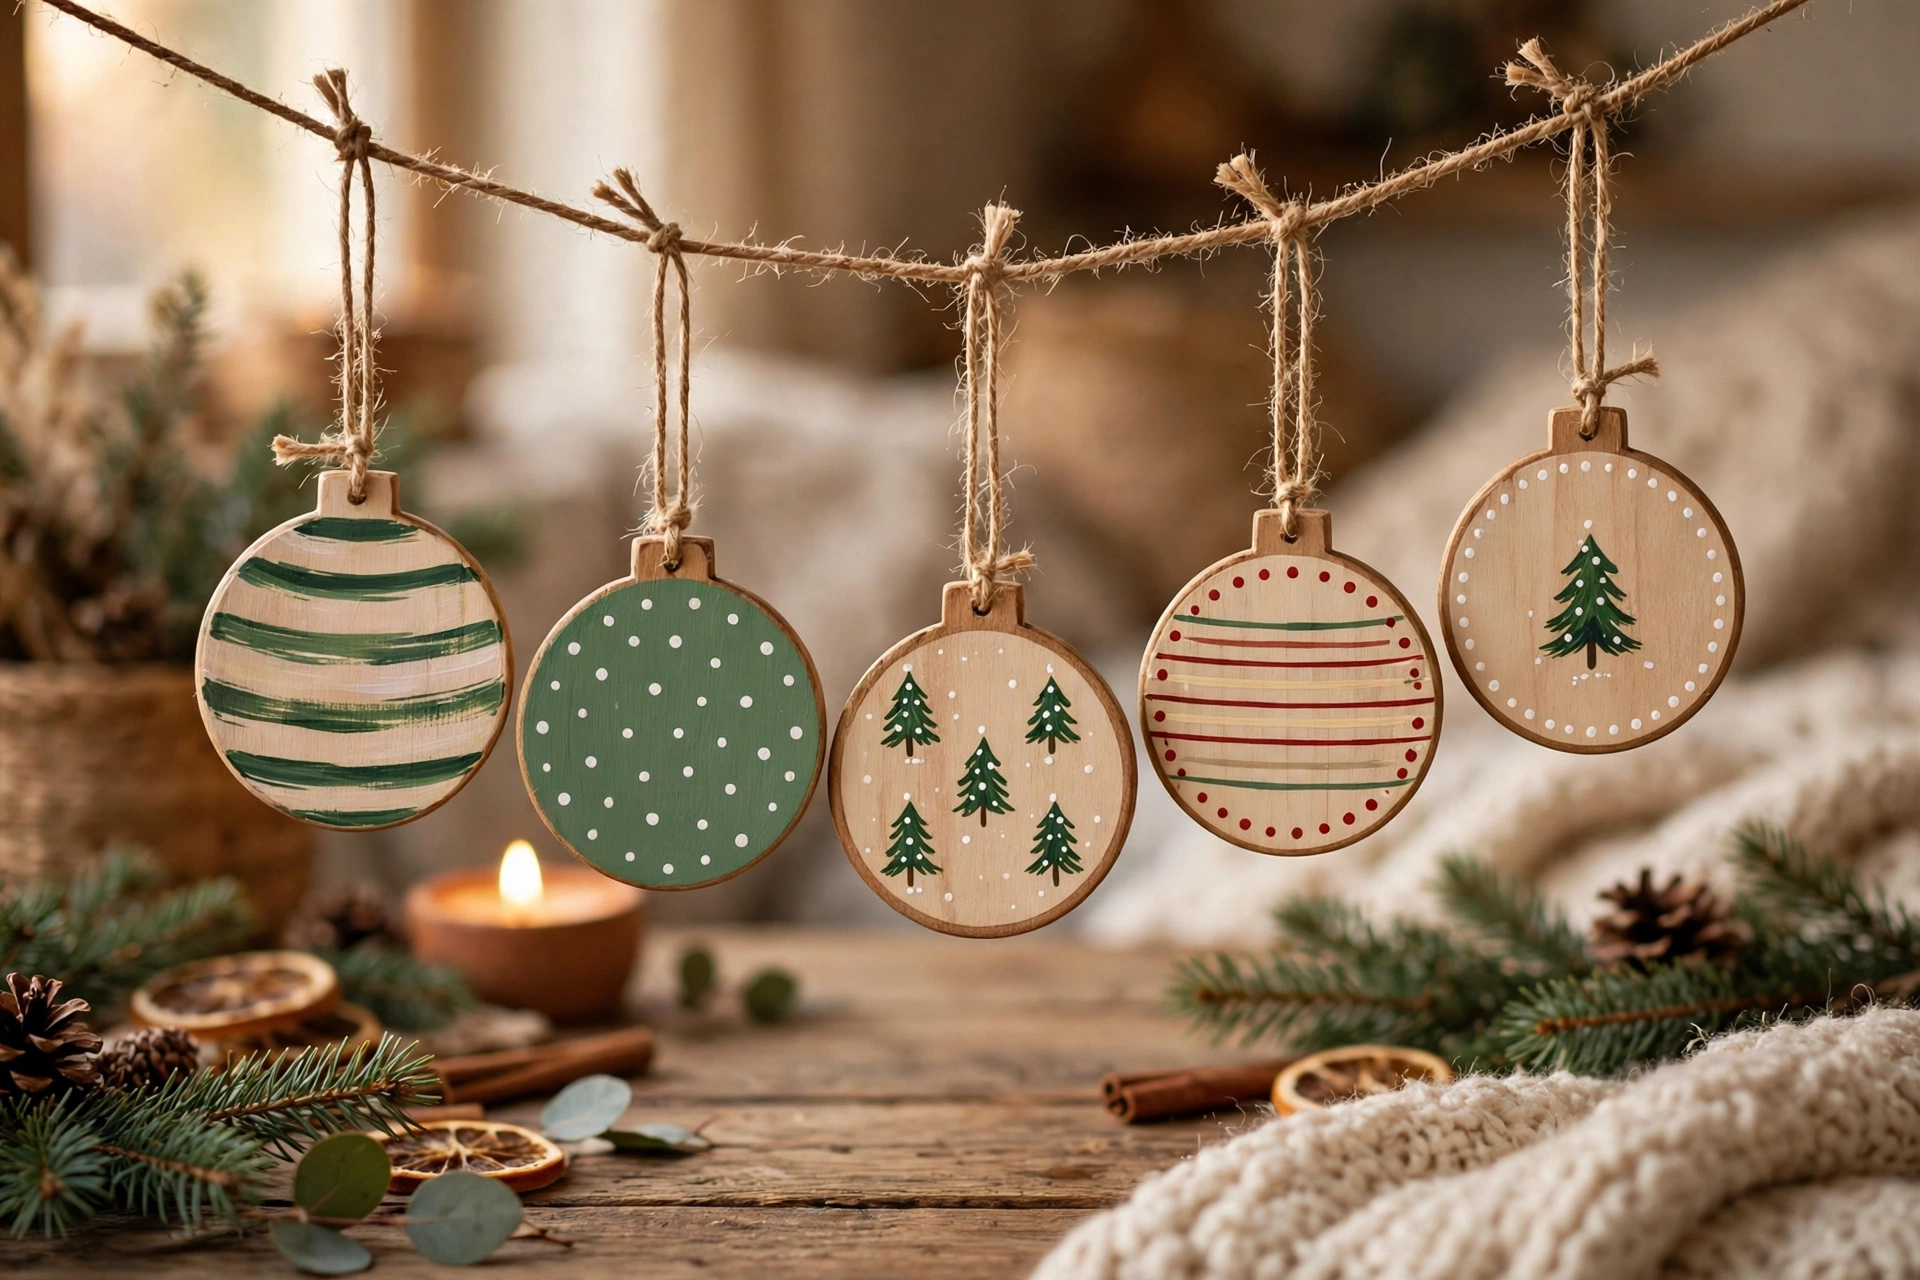
Paint plain wooden ornaments with simple designs, such as stripes, dots, or tiny trees, using craft paint and a thin brush. Let each coat dry fully before adding details, then seal with a clear coat if you want them to last. Hang them with twine for a warm, handmade look.
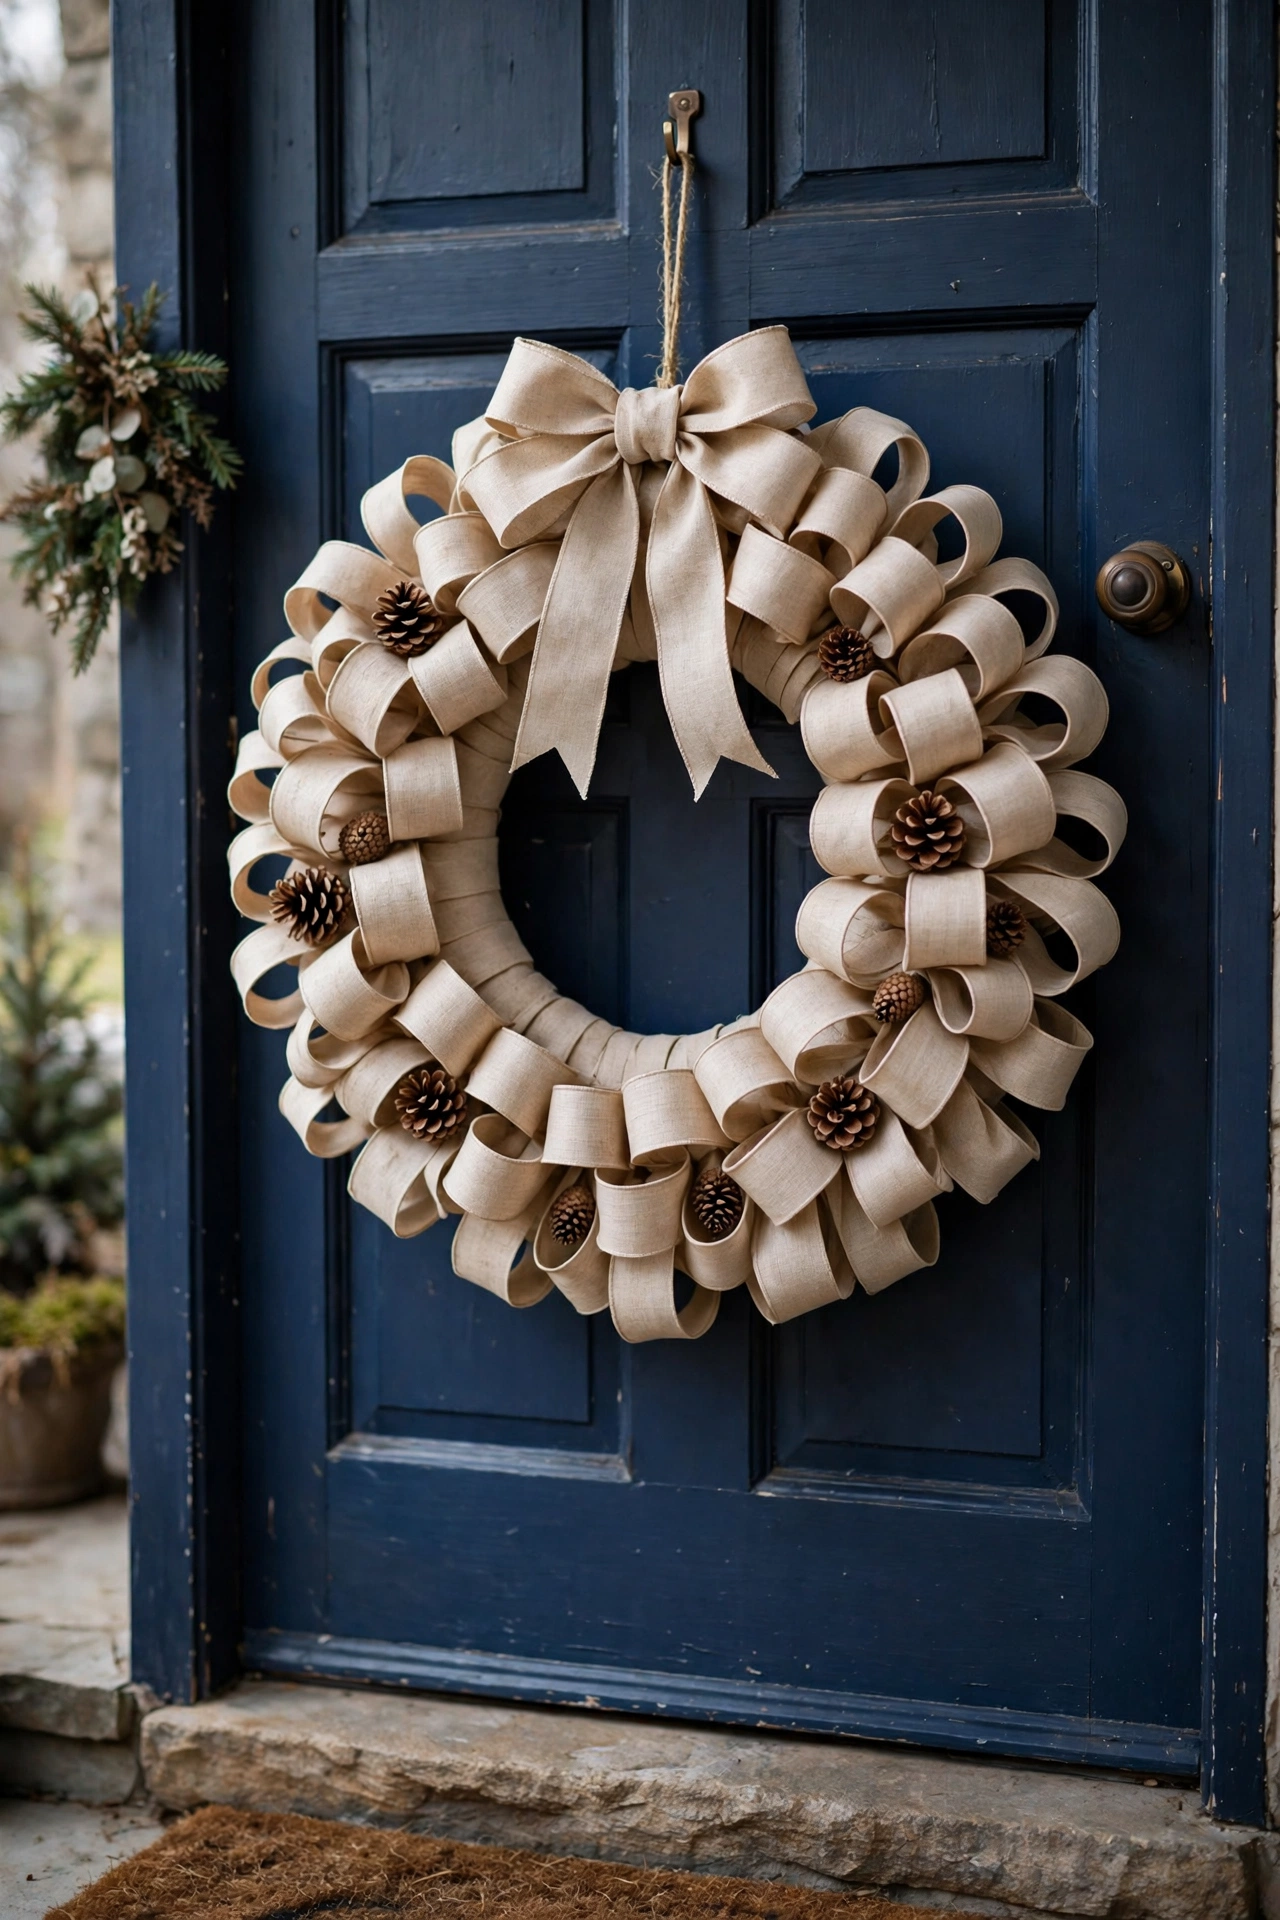
Idea 12: Ribbon Christmas Wreath
Wrap a foam wreath form with wide ribbon, looping and pinning each loop in place until the form is fully covered. Add a bow at the top and a few small pinecones for texture. Hang it on a door or wall with a sturdy hook that will not damage the surface.
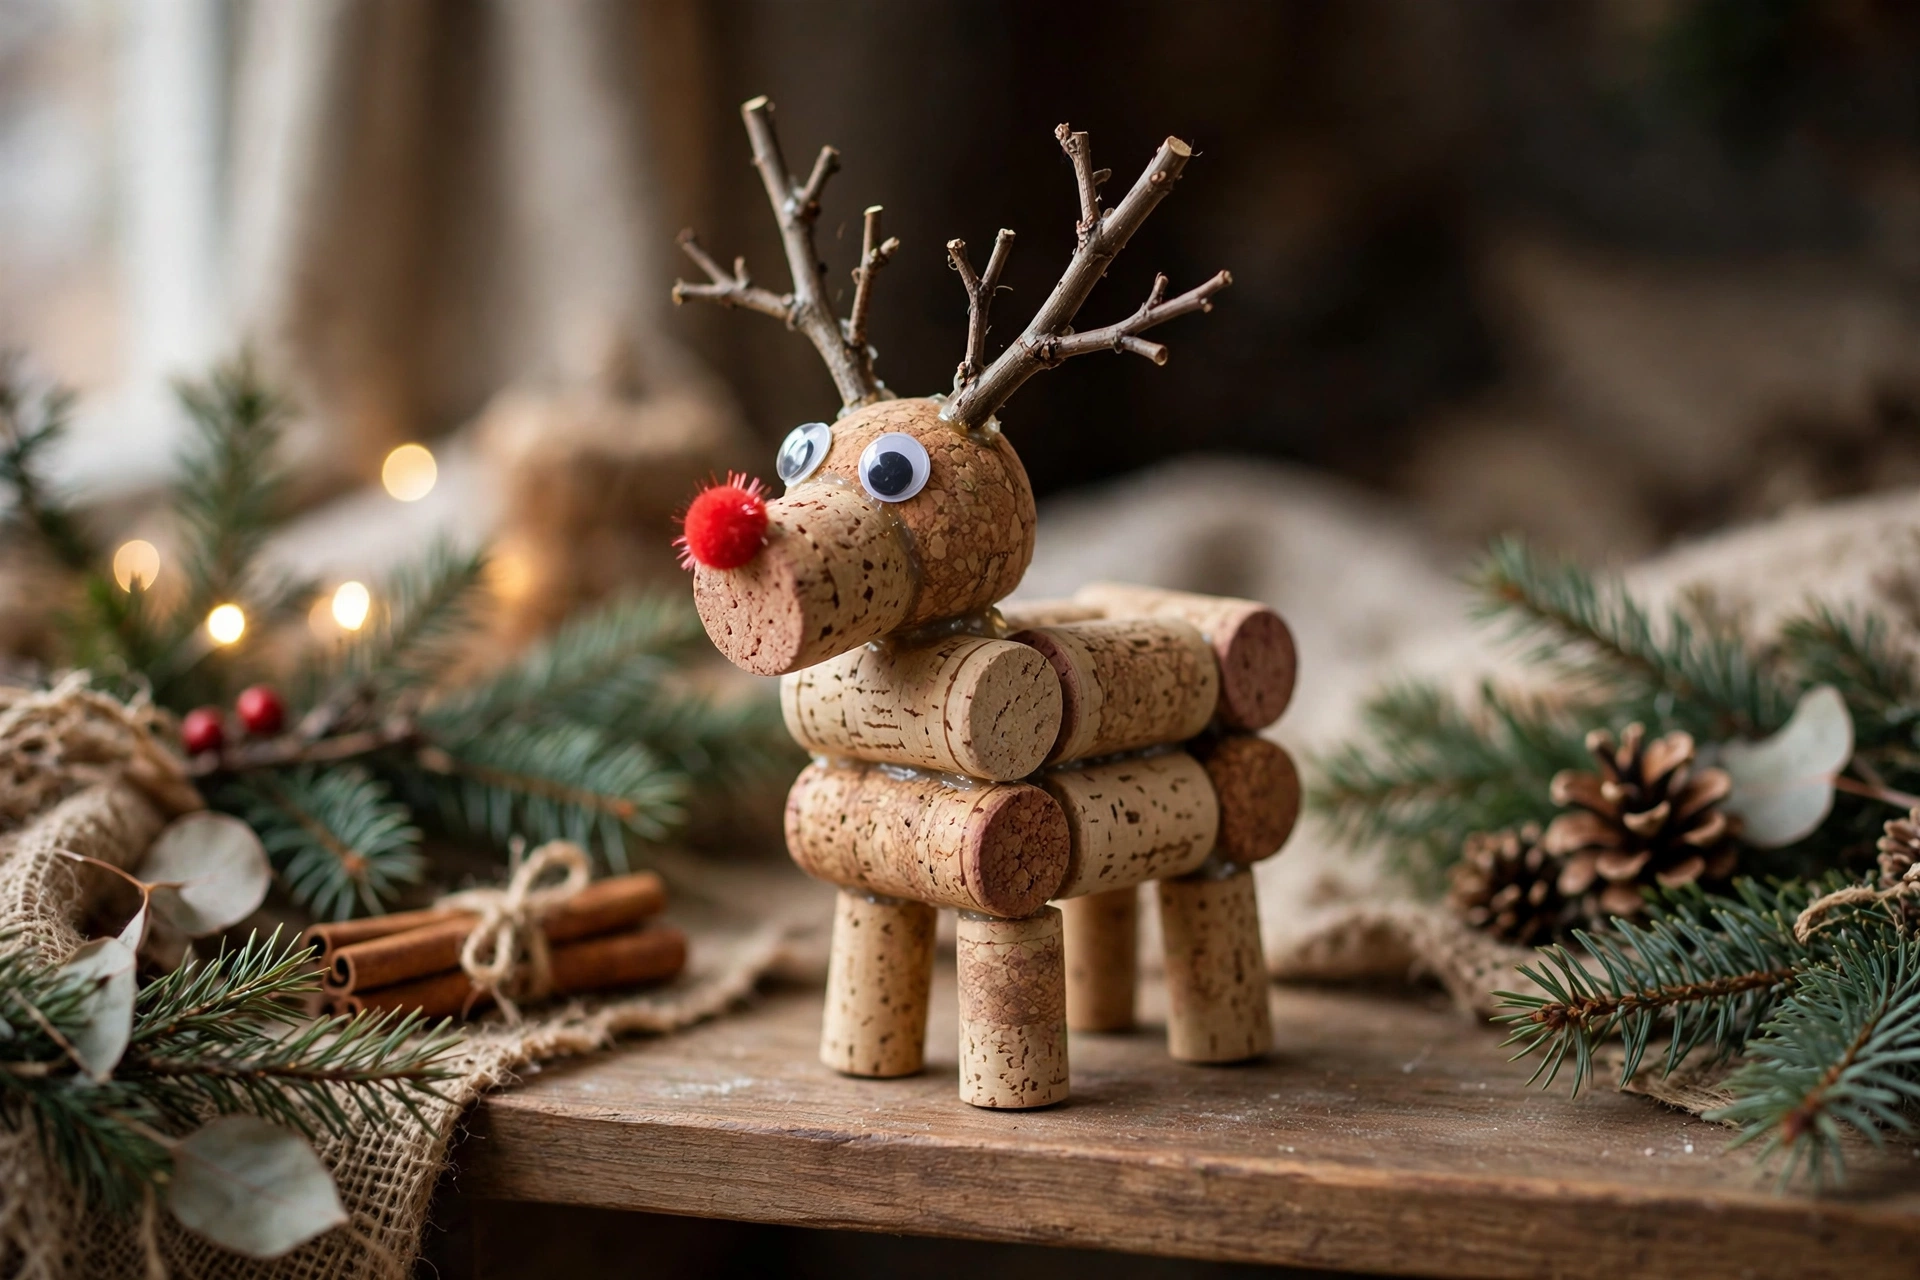
Idea 13: Wine Cork Reindeer
Glue wine corks together to form a small reindeer body and head, then add twig antlers, googly eyes, and a tiny red pom-pom nose. Use a hot glue gun with care, and let adults handle the glue for younger children. These little reindeer make charming shelf or table decorations.
Idea 14: Snowy Mason Jar Lanterns
Fill a clean mason jar with fake snow, a small pine sprig, and a battery candle, then tie twine around the rim for a snowy lantern. Place jars on a mantel, windowsill, or table where they will not be knocked over. Battery candles keep this project safe around children and pets.

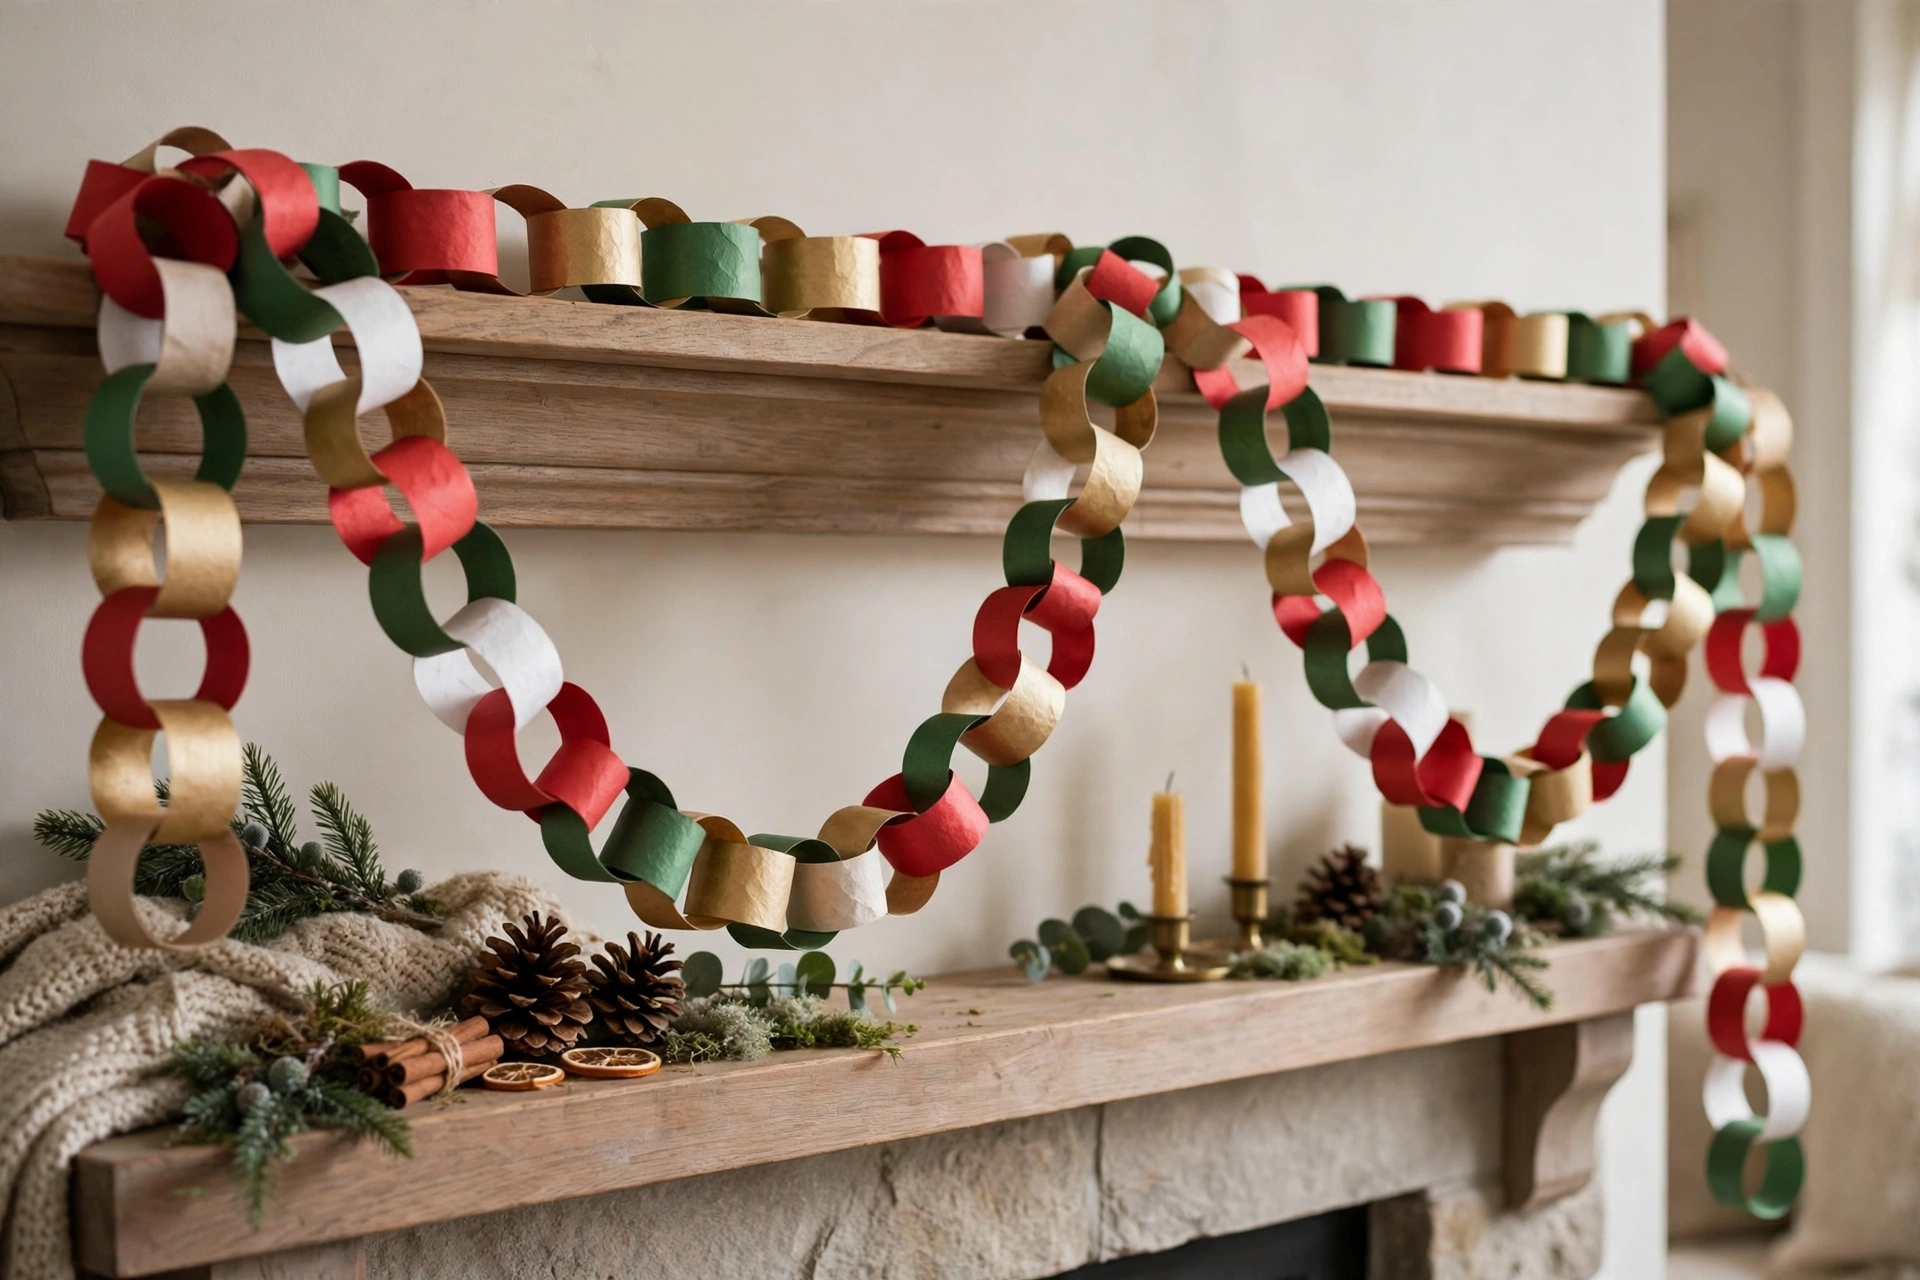
Idea 15: Paper Chain Christmas Garland
Cut coloured paper into strips, loop them into a chain, and glue or staple each link closed to make a long, cheerful garland. Mix red, green, gold, and white for a classic look, and let children help with cutting and linking. Drape it across a mantel, doorway, or tree.
Idea 16: Gingerbread House Display
Build a gingerbread house from a simple kit or baked pieces, glue it together with thick royal icing, and decorate it with candy, pretzels, and icing snow. Let the icing set fully before moving the house, then display it on a tray dusted with powdered sugar snow.

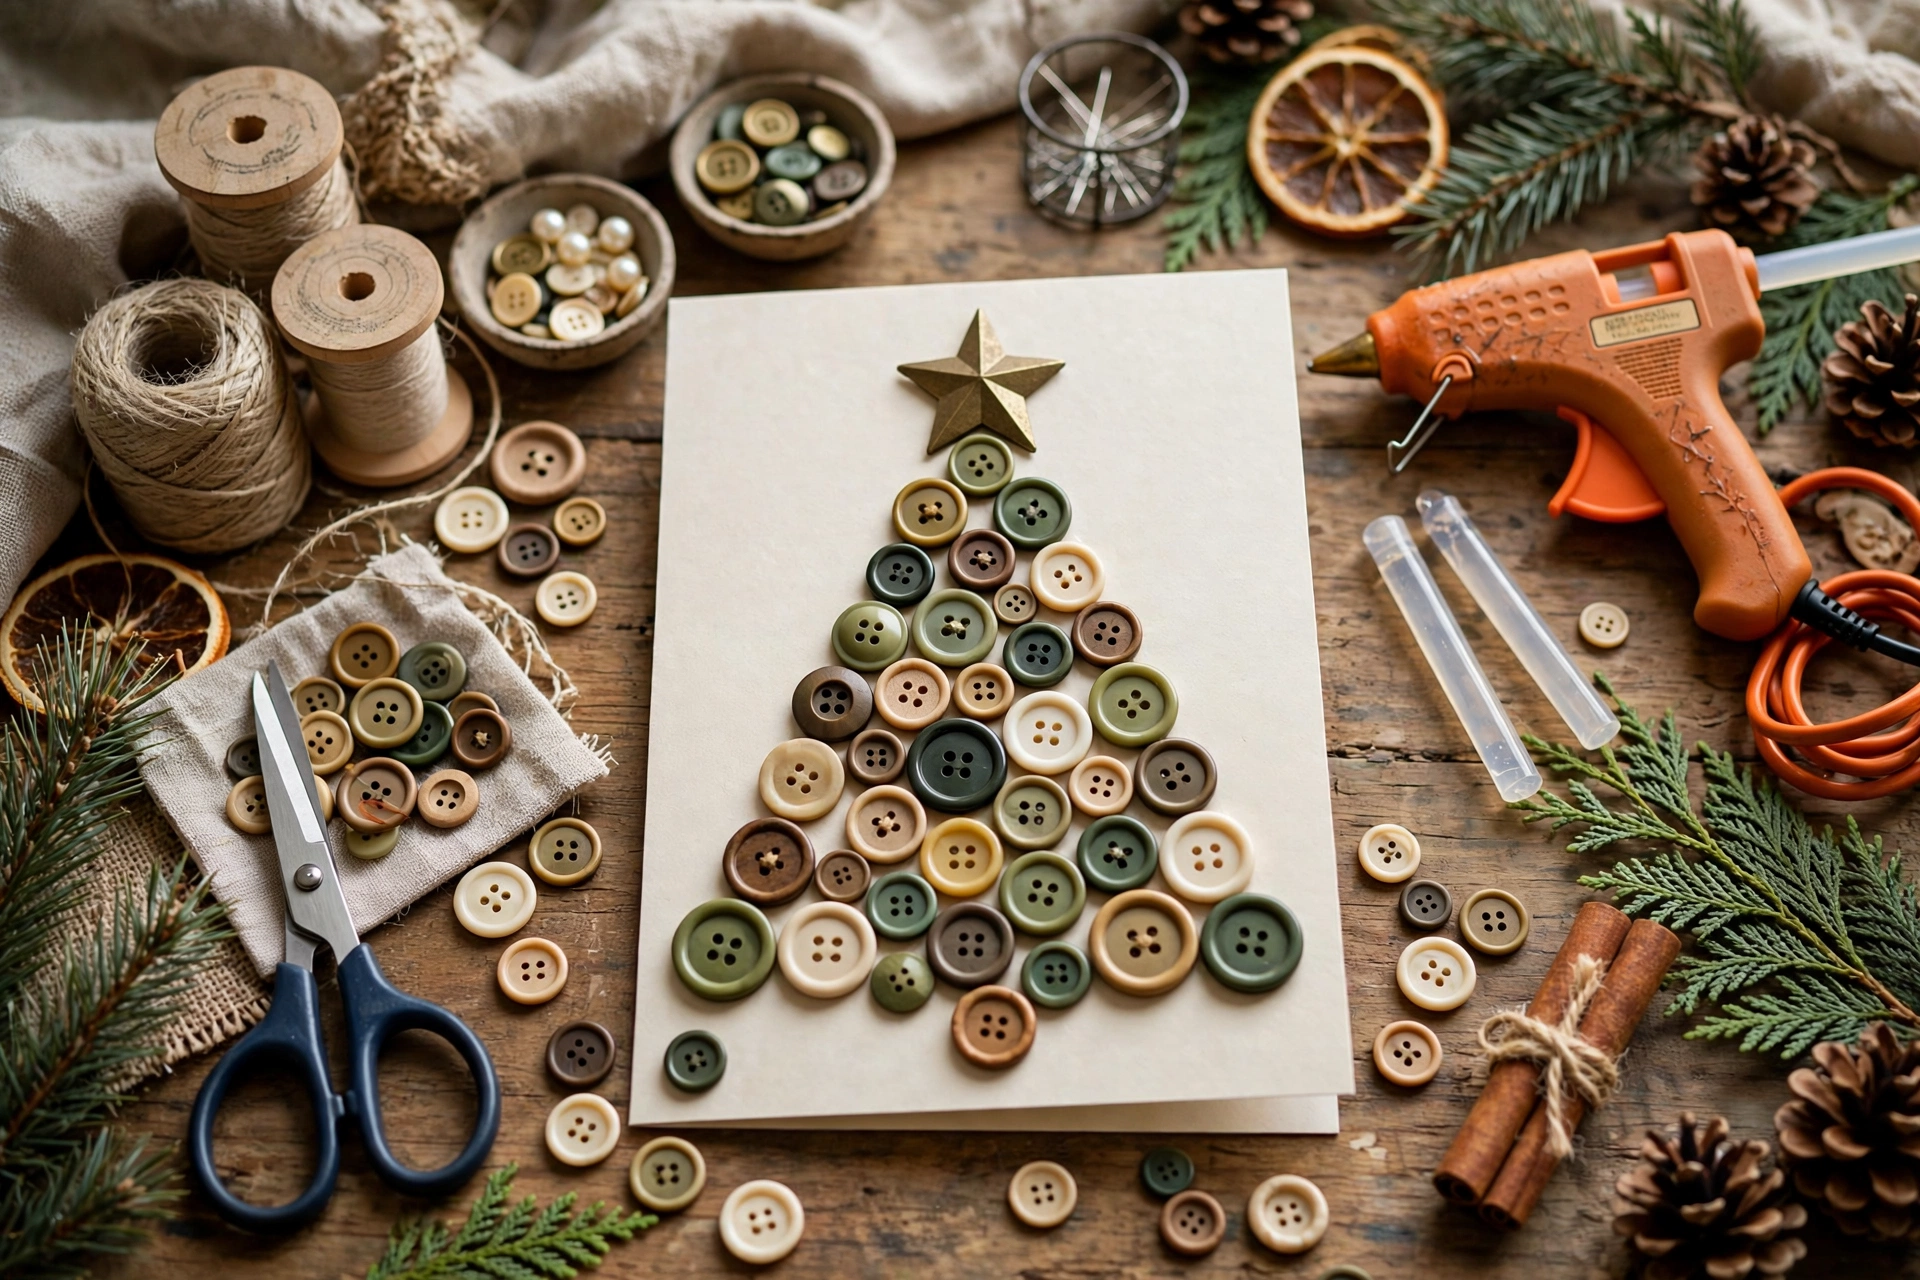
Idea 17: Button Christmas Tree Card Display
Arrange buttons in a tree shape on a plain card, gluing each button in rows from wide at the bottom to narrow at the top. Add a star button at the top and a small trunk at the base. These cards work as handmade greetings or as flat ornaments for a wall display.
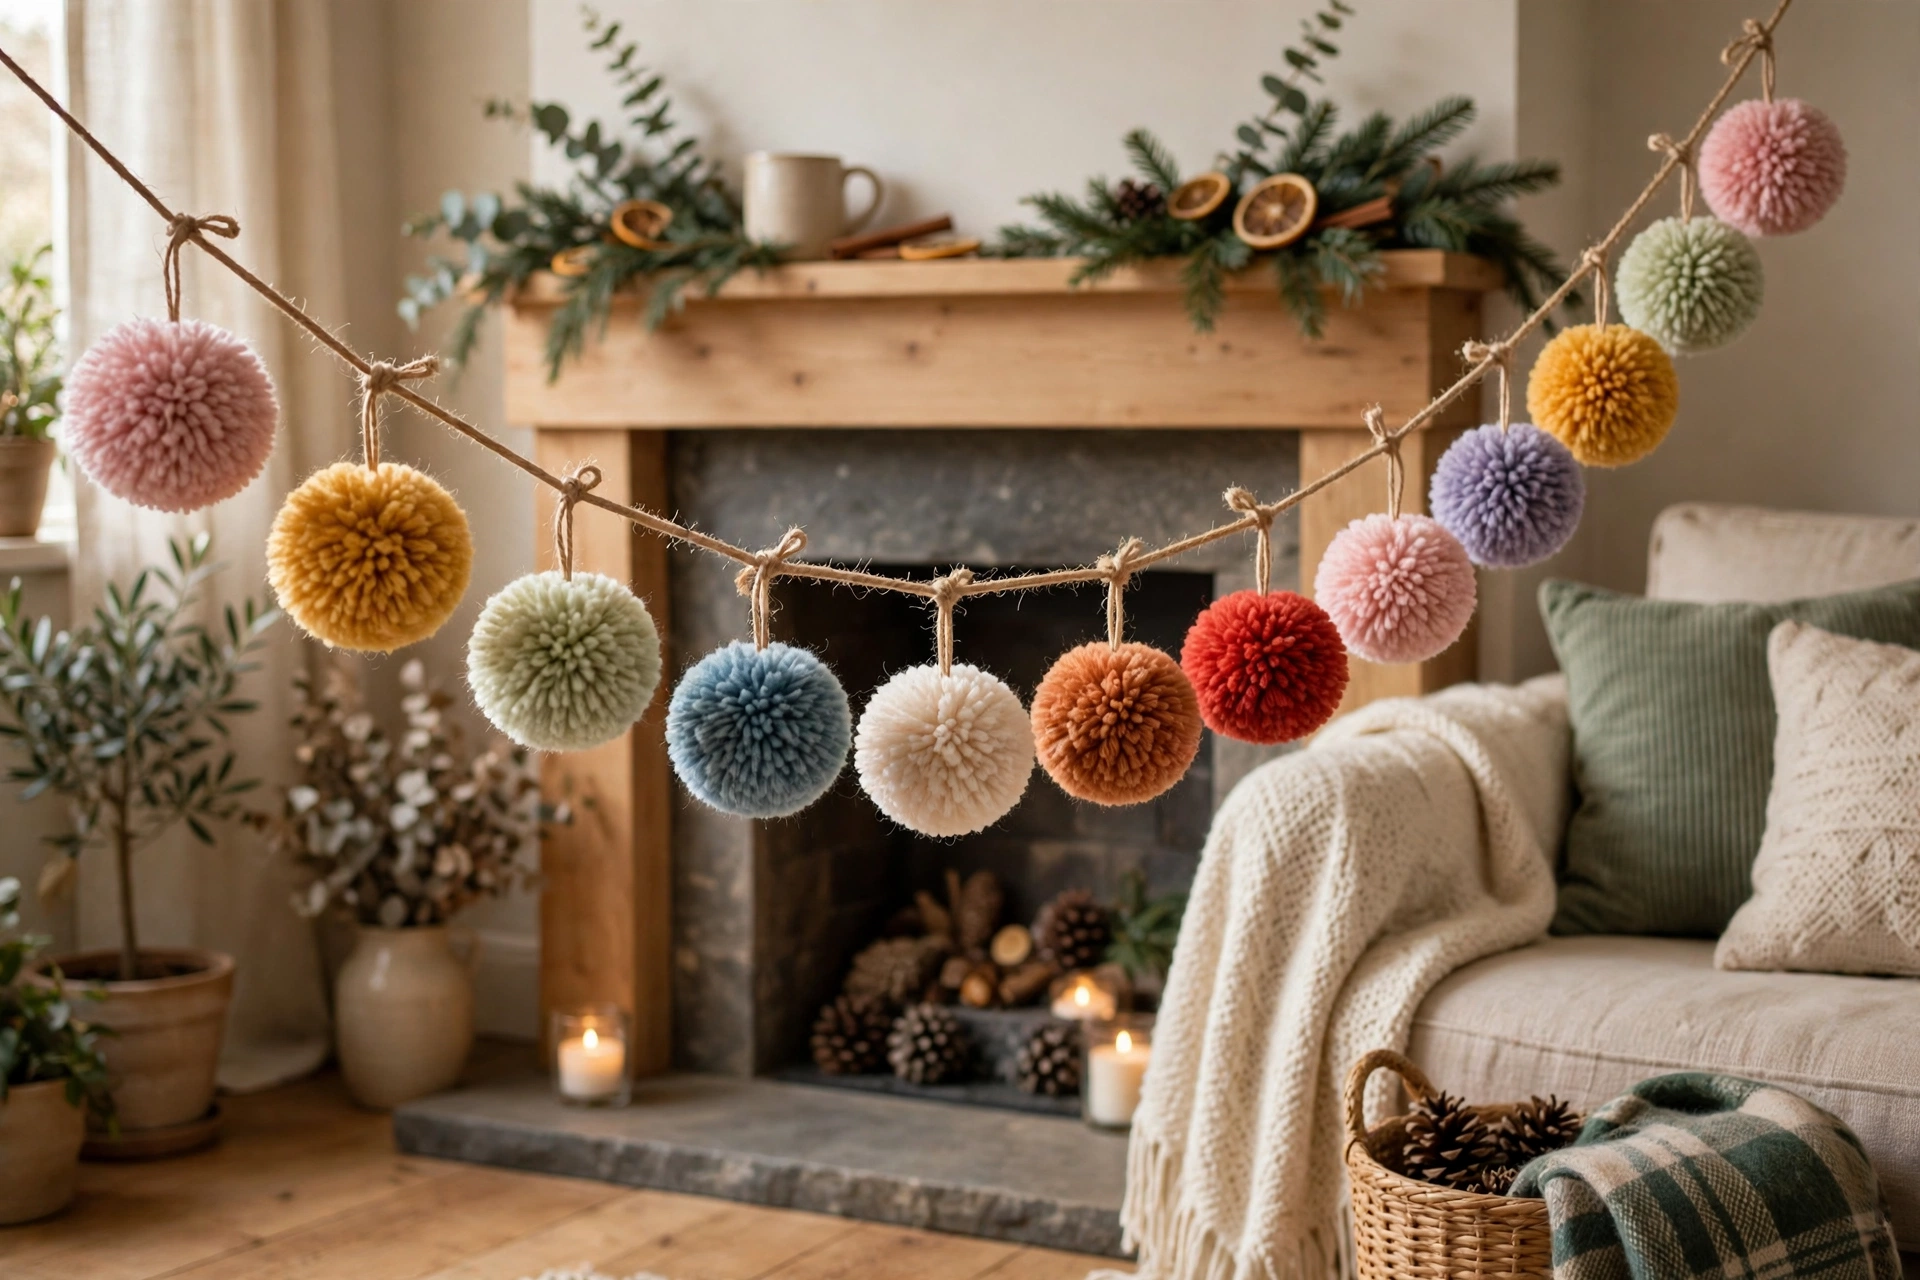
Idea 18: Pom Pom Christmas Garland
Make pom-poms by wrapping yarn around a fork or cardboard template, tying the centre tightly, and trimming the loops into round balls. Thread the pom-poms onto twine, spacing colours evenly for a soft, playful garland. Hang it where it will not snag on clothing or furniture.
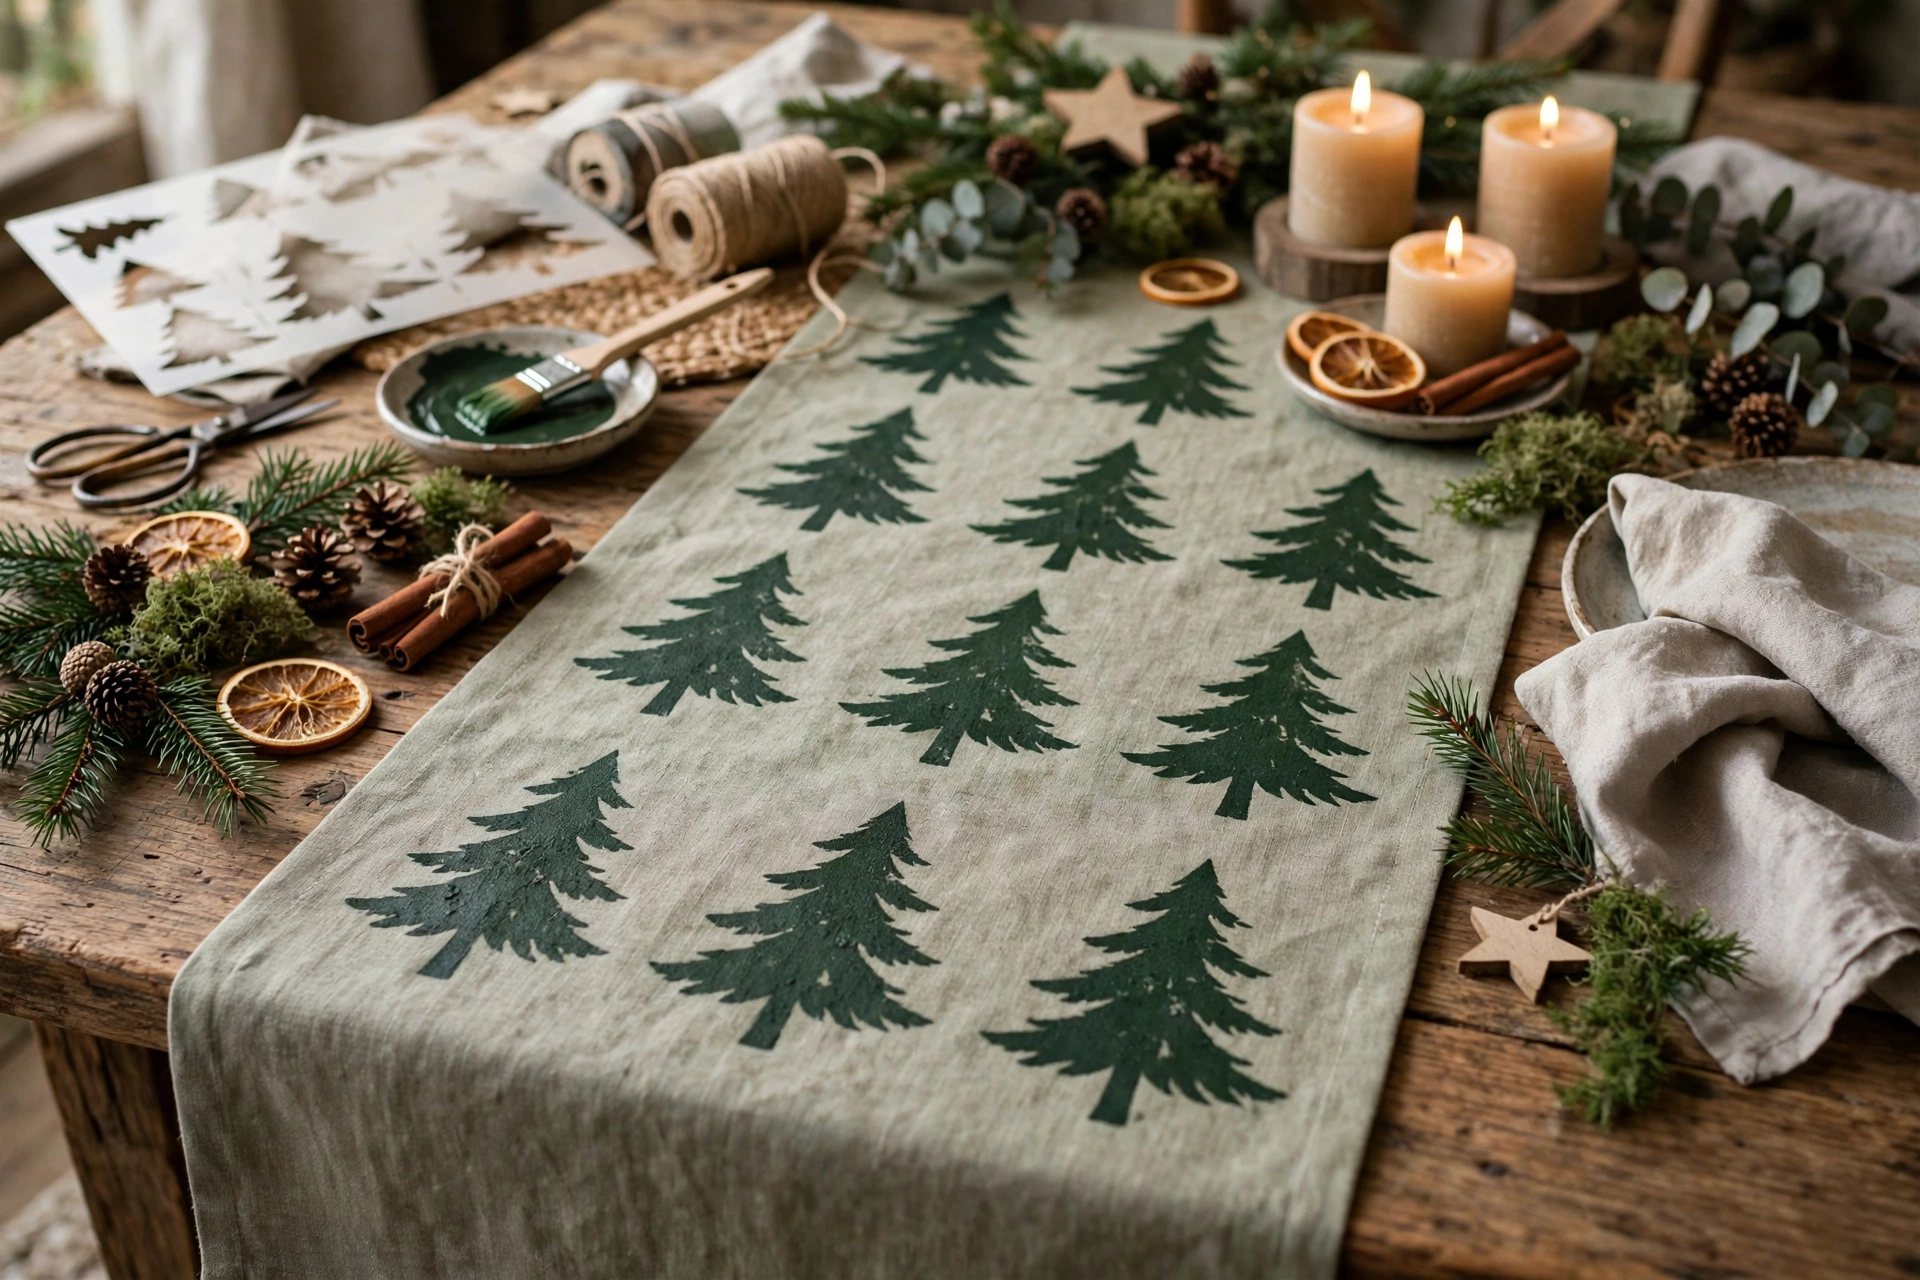
Idea 19: DIY Christmas Table Runner
Sew or no-sew glue a simple table runner from festive fabric, adding a felt border or stencilled trees along the edges. Measure your table first so the runner hangs evenly on both ends. This easy project dresses up a holiday table without buying a new tablecloth.
Idea 20: Recycled Cardboard Christmas Village
Cut simple house shapes from recycled cardboard boxes, paint them in festive colours, and add paper windows and roofs. Arrange the houses on a shelf with fake snow and a battery light string behind them. Store the flat pieces carefully so the village can be reused next year.

Practical Tips for DIY Christmas Decorations
- Safety first: use battery candles instead of real flames, keep decorations away from heat sources, and let adults handle hot glue guns and sharp tools.
- Store with care: label boxes by project, wrap fragile ornaments in tissue, and keep small parts in sealed bags so nothing is lost.
- Reuse materials: save ribbon, fabric scraps, buttons, and cardboard from year to year, and let leftovers inspire next season’s projects.
- Small-space ideas: choose flat or tabletop projects, such as card displays and jar lanterns, when wall or floor space is limited.
- Kids can help: give children simple, safe jobs like painting, linking paper chains, and sorting buttons, while adults handle cutting and gluing.
Frequently Asked Questions
How long do most of these DIY decorations take?
Most projects take 30 minutes to 2 hours, depending on drying time for paint and glue, so plan a relaxed afternoon rather than rushing before guests arrive.
Do I need special tools to make these?
No, most ideas use basic supplies such as scissors, glue, paint, twine, and yarn, plus items you may already have at home like jars, corks, and cardboard.
Are these decorations safe around children and pets?
Yes, when you use battery candles, non-toxic craft paint, and sturdy, larger pieces, and keep small parts and hot glue out of reach of young children.
Can I reuse these decorations next year?
Yes, most of them store well in labelled boxes, and flat projects such as card displays and cardboard villages can be kept flat to save space.
What if I am new to crafting?
Start with the simplest projects first, such as paper chains and pom-pom garlands, and add more detailed projects once you feel confident.
Conclusion
Handmade Christmas decorations do not need to be perfect to feel special, and that is exactly what makes them worth keeping. A painted ornament, a ribbon wreath, a cork reindeer, or a cardboard village all carry the time and care you put into them. Pick one or two ideas from this list, gather simple supplies you already have, and enjoy making something with your own hands. With a little patience and a festive afternoon, your home can feel warm, personal, and ready for Christmas.