
Easy Everyday Makeup Tutorial for Beginners
Introduction
An easy everyday makeup tutorial for beginners should make your morning routine simpler, not more stressful. You do not need a large collection of products or advanced skills to look polished. A natural everyday look is about even skin, soft color, and a fresh finish that still looks like you.
This guide takes you through each step in order, from skin prep to a light finishing touch. Follow it exactly the first time, then adjust it as you learn what you like. Once you feel comfortable, most beginners can finish this routine in about ten to fifteen minutes.
The goal is not a dramatic change. It is a clean, wearable look for work, school, errands, or a casual lunch. Work in good light, use clean tools, and apply thin, even layers. Light layers will almost always look better than one heavy layer.
Table of Contents
- What You Will Need
- Step 1: Prep Your Skin
- Step 2: Create a Natural Base
- Step 3: Shape and Define Your Brows
- Step 4: Soft, Simple Eye Makeup
- Step 5: Add Color to Your Cheeks
- Step 6: Finish With Your Lips
- Step 7: Set and Check Your Look
- Common Beginner Mistakes to Avoid
- Practical Tips for a Smooth Routine
- Frequently Asked Questions
- Conclusion
What You Will Need
Start with these basics. You do not need everything on a beauty store shelf:
- A gentle cleanser and a light moisturizer you already know and like
- A light-coverage foundation, tinted moisturizer, or BB cream close to your skin tone
- Concealer, if you want extra coverage in small areas
- Loose or pressed powder, optional
- A neutral eyeshadow palette in light brown, warm beige, and soft taupe
- Mascara in black or brown
- A soft blush in pink, peach, or rose
- A nude or soft pink lip color
- A brow pencil or brow gel close to your natural brow color
- A damp makeup sponge, a foundation brush, a fluffy powder brush, and a small eyeshadow brush
Wash your hands before you start and clean your brushes and sponge regularly. Clean tools help makeup sit more evenly.
Step 1: Prep Your Skin
Good prep makes the rest of the routine easier. Start with clean skin, then apply a light layer of moisturizer. Let it sit for a minute or two before you add makeup. This pause helps foundation blend smoothly and keeps the finish from looking patchy.
Use a thin layer, not a thick one. Too much product under makeup can make it slide or gather during the day. If you can, check your work in natural light near a window. Daylight gives a truer view of color and blending than bathroom light alone.
Step 2: Create a Natural Base
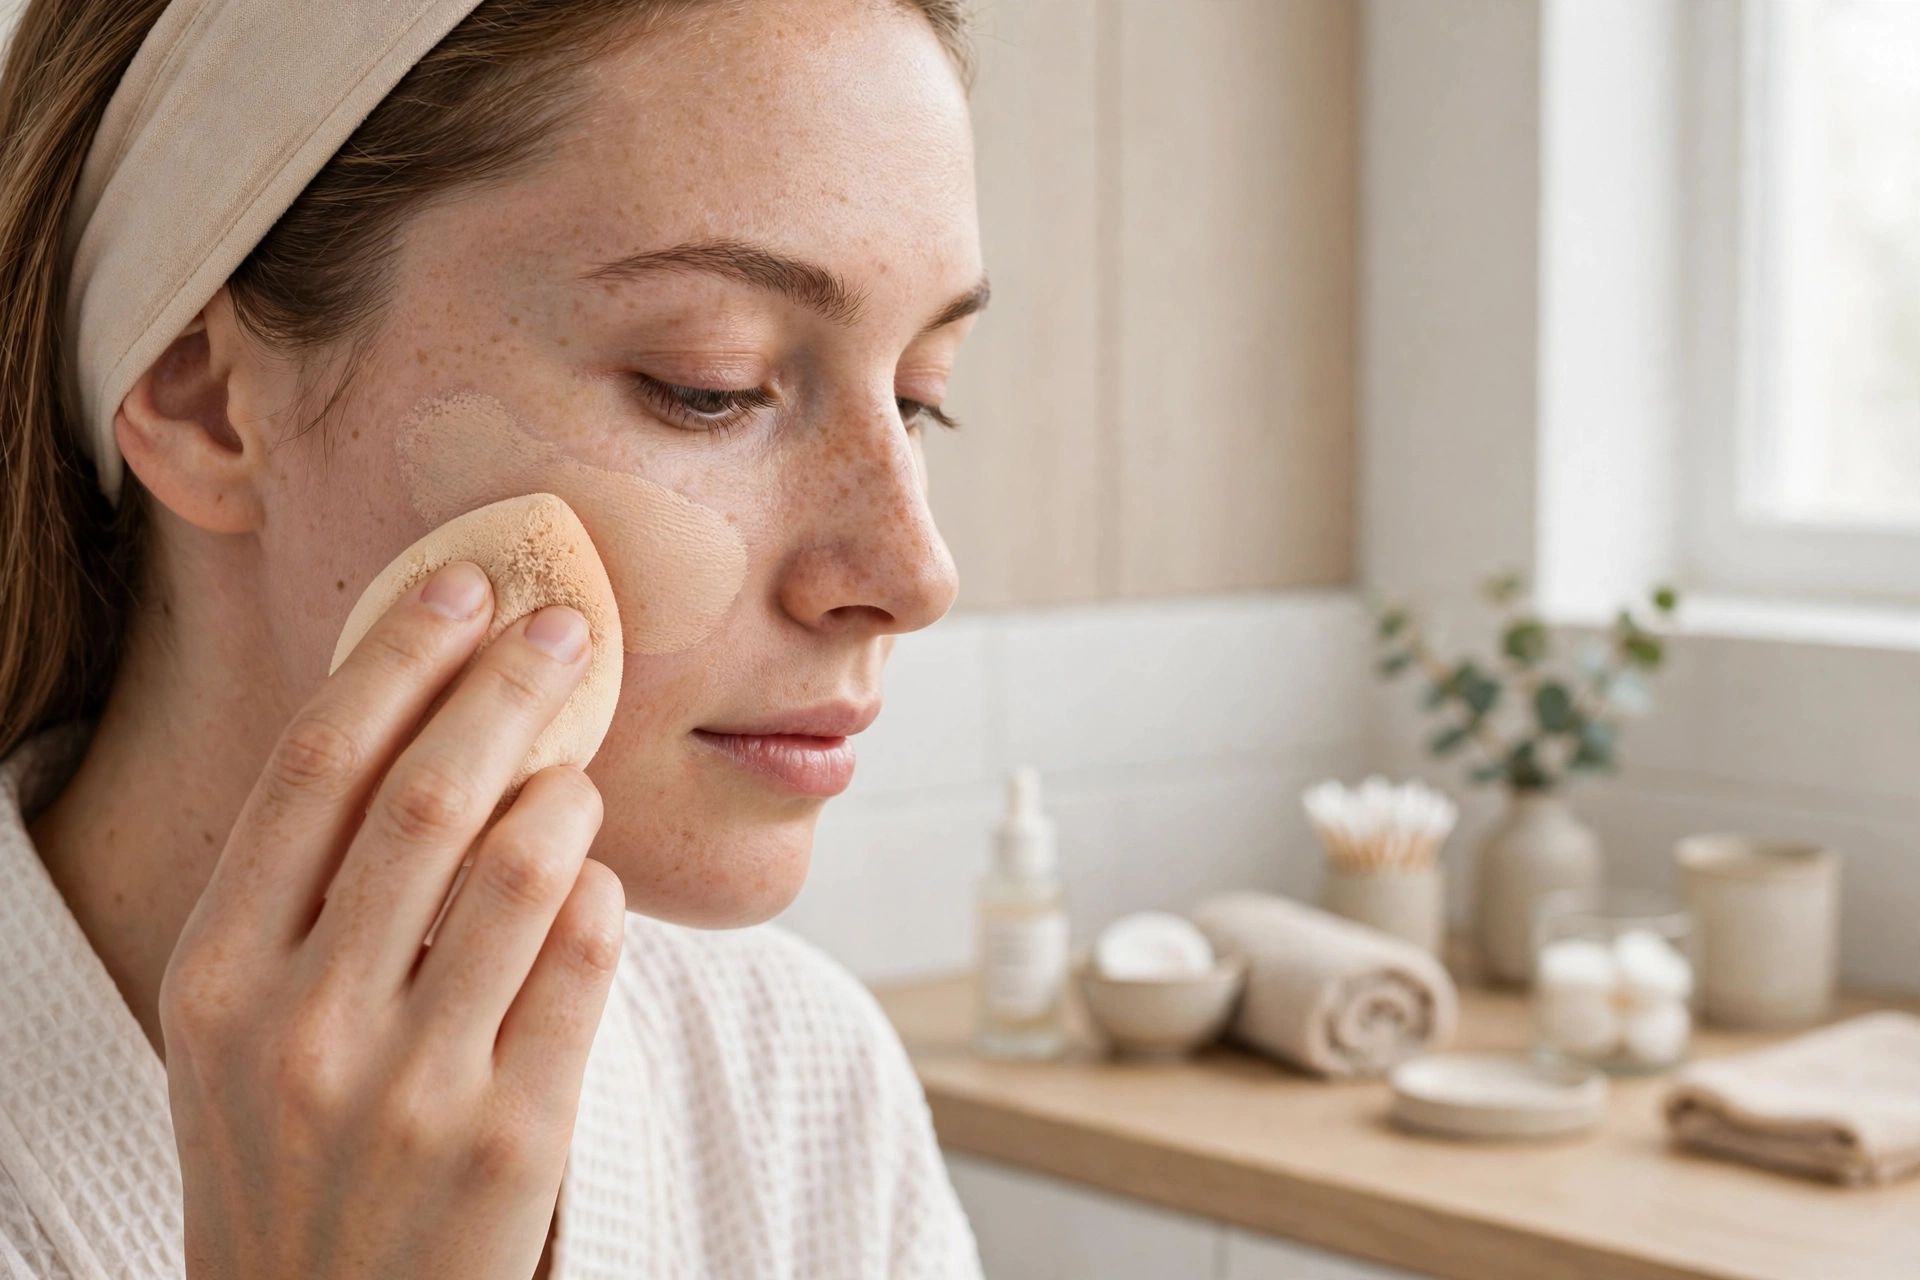
A natural base should even out your skin tone without hiding your features. Start with a small amount of foundation or tinted moisturizer in the center of your face, where uneven tone is most common. Blend outward with a damp sponge or brush, using light tapping motions.
Build coverage slowly. Add a second thin layer only where you need it, rather than starting thick all over. If you want to cover a small spot, use a tiny dot of concealer and tap it gently with your fingertip or a small sponge. Blend the edges so there is no clear line, and avoid rubbing, which can move the product away.
Powder is optional. If you like a matte finish, or your skin gets shiny during the day, press a small amount of powder lightly over your forehead, nose, and chin. Keep the rest of your face mostly powder-free for a softer finish.
How to Check Your Shade
Test foundation on your jawline, not only on your hand, and check it in daylight. It should blend in without a clear line. If it looks too light, too dark, or too orange, try a shade closer to your natural skin tone.
Step 3: Shape and Define Your Brows
Brows frame your face, but they do not need to be perfect. Brush them upward and outward with a clean spoolie brush. This shows their natural shape and where they may look sparse.
Use short, light strokes with a brow pencil to fill only the sparse areas, following the direction of your natural hairs. A light hand matters here. Heavy, dark lines can look harsh in an everyday look. Finish with a clear or tinted brow gel if you want them to stay in place, then brush through once more to soften the color.
Step 4: Soft, Simple Eye Makeup
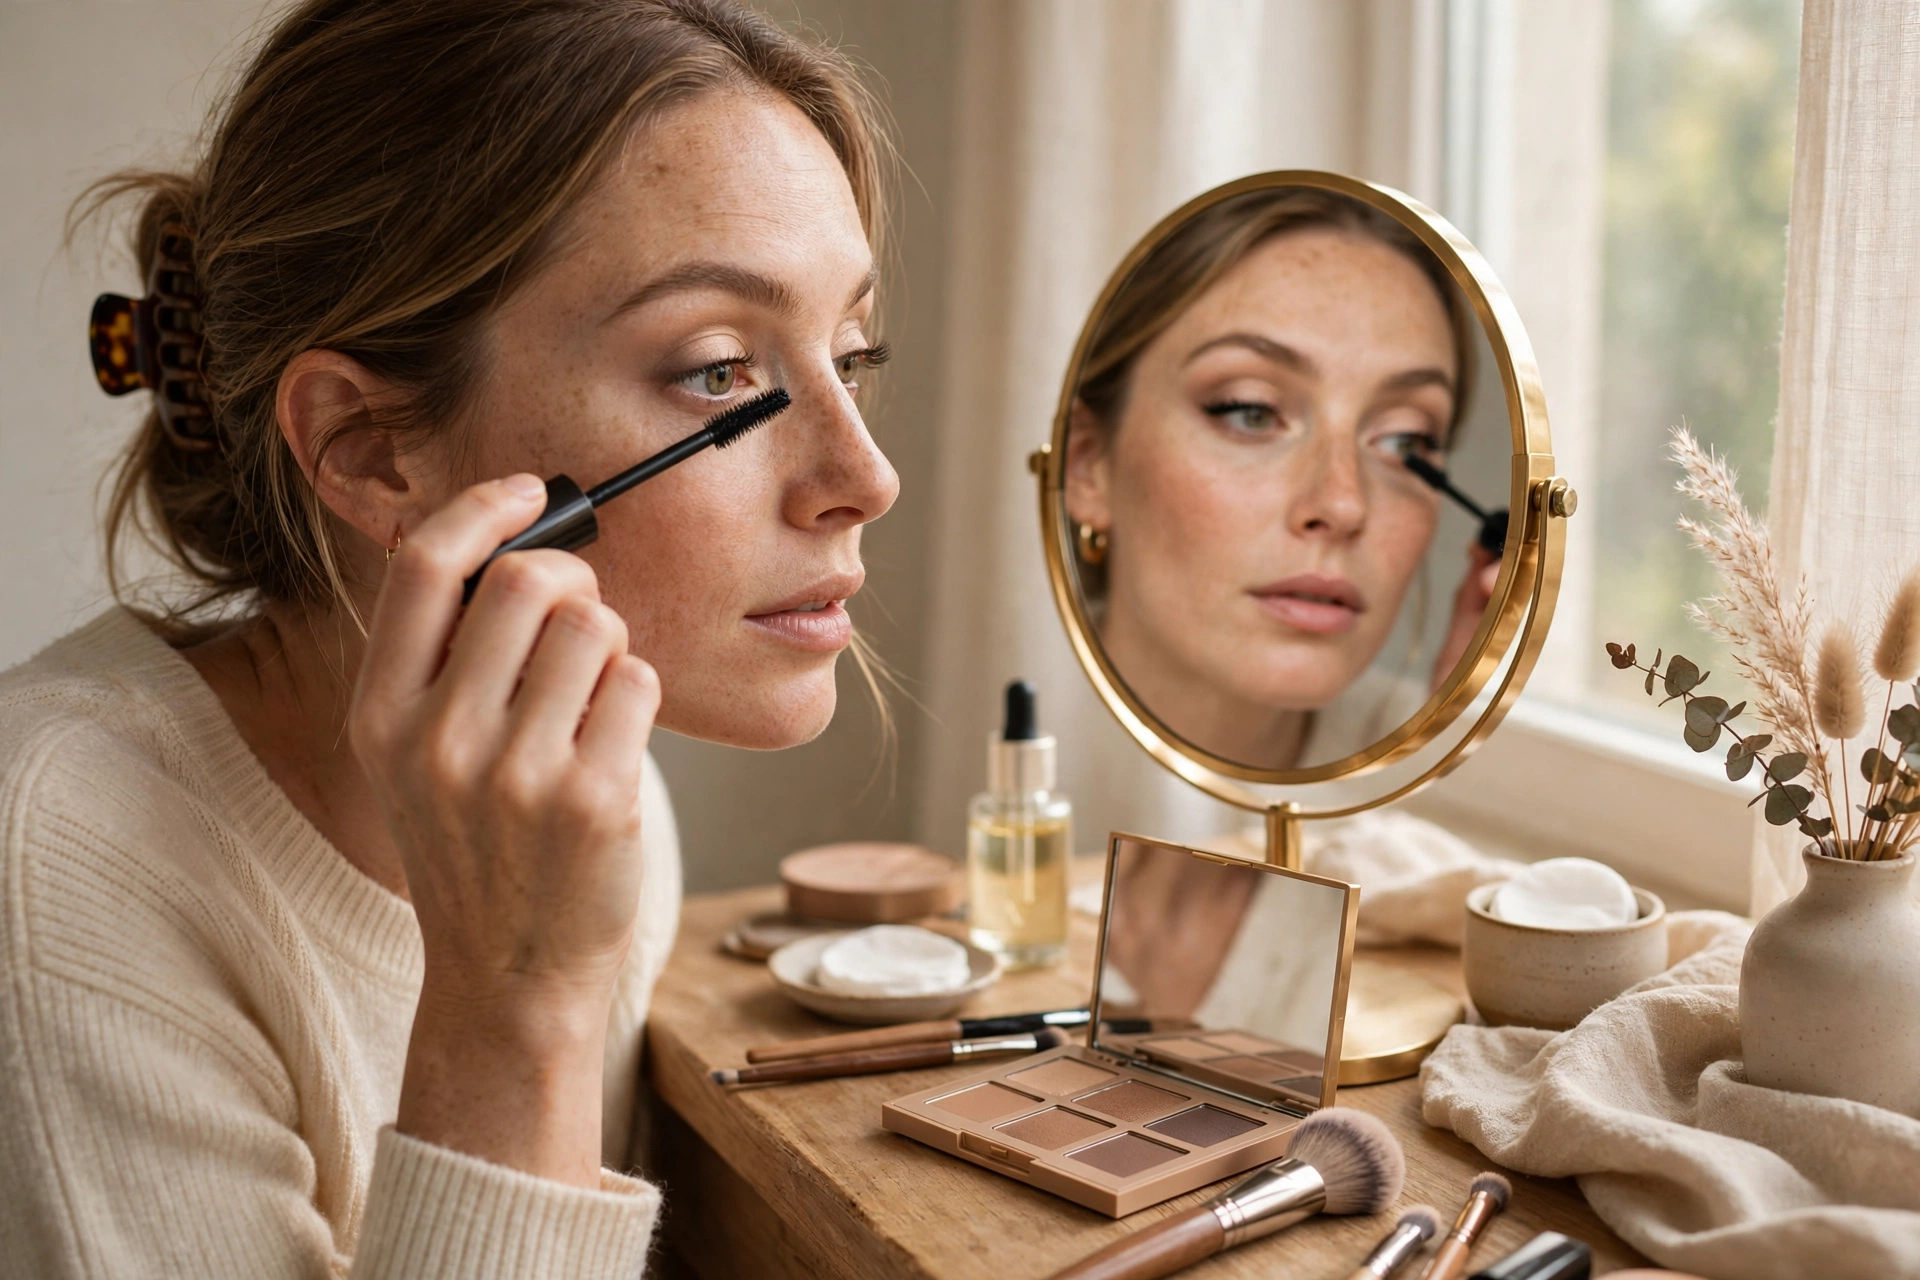
Keep everyday eye colors soft and close to your skin tone. Start with a light beige or cream shade all over your lid. Then sweep a soft brown or taupe shade into the crease, the fold above your lid, and blend well with no sharp edges.
You can add a slightly deeper brown close to your lash line for gentle definition, but this is optional. If you like eyeliner, a thin brown line along the upper lashes can add definition without looking heavy. Smudge it lightly for a softer effect.
Apply mascara slowly. Wiggle the brush gently at the roots and pull upward through the lashes. Let one coat dry for a few seconds before adding a second coat, if you want more volume. Avoid pumping the wand in and out of the tube, which can dry the product out faster.
A Simple Three-Shade Method
- Light shade: all over the lid, to brighten the eye area.
- Medium shade: in the crease, to add soft depth.
- Deep shade: close to the lash line, only if you want extra definition.
Blend each shade into the next. When the edges disappear, the look feels natural and polished.
Step 5: Add Color to Your Cheeks
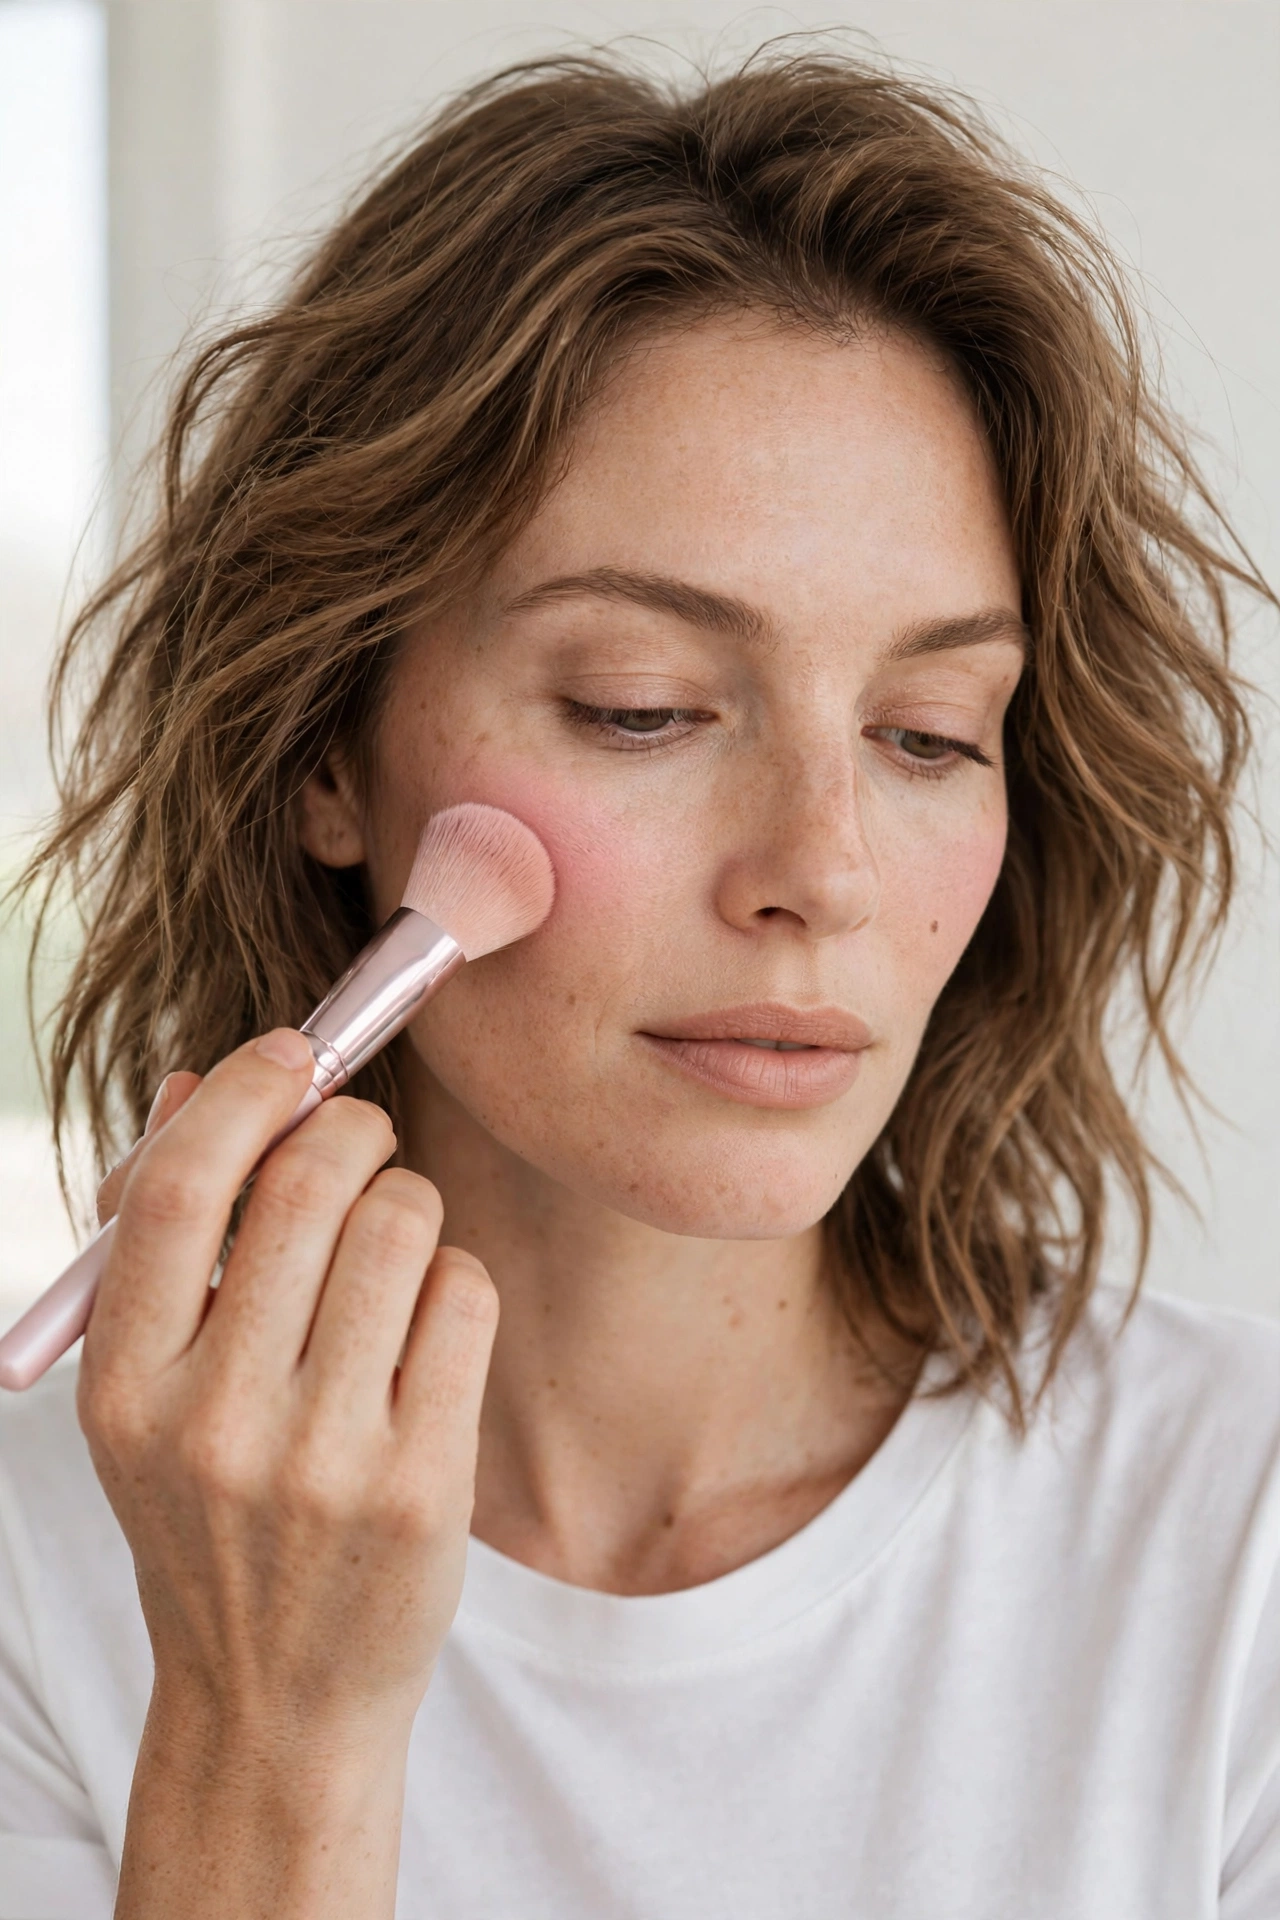
Blush adds a fresh touch. Smile lightly to find the apples of your cheeks, then sweep blush onto those areas and blend slightly upward toward your temples. Start with a small amount. You can always add more, but it is harder to remove too much without disturbing your base.
Cream blush can feel very natural, while powder blush is easy to control for beginners. Either works. Choose a shade that looks like a natural flush for you, such as soft pink, peach, or rose. If you want a little glow, add a very light highlighter to the tops of your cheekbones and keep it subtle for daytime.
Step 6: Finish With Your Lips
For everyday lips, choose a color close to your natural lip tone. A nude, soft pink, or light rose shade is easy to wear and easy to reapply. Apply it straight from the tube, or press it in with your fingertip for a softer effect.
If your lips feel dry, apply a light lip balm first and blot off any excess before adding color. Lip liner is optional. If you use one, choose a shade close to your lip color and keep the line soft and close to your natural lip shape.
Step 7: Set and Check Your Look
Step back and check your makeup in daylight if possible. Look for unblended lines around your jaw, hairline, or nose, and blend gently with a clean sponge or brush where needed.
A light setting spray can help makeup stay in place, but it is not required. If you use one, hold it at arm’s length, mist lightly, and let it dry without touching your skin. For touch-ups, blotting shine is often better than adding more powder, because it keeps the finish light.
Common Beginner Mistakes to Avoid
Using too much product at once. Heavy layers can look cakey. Start light, blend well, and add more only where needed.
Skipping blending. Visible lines around the jaw, nose, or eyeshadow edges are the most common sign of unfinished makeup. Take an extra minute to blend, especially in daylight.
Choosing the wrong foundation shade. A shade that is too light can look grey, while one that is too dark can look orange. Test on your jawline in daylight.
Applying mascara too quickly. Rushing can lead to clumps. Apply slowly, one coat at a time, and wipe excess product off the brush first.
Trying too many new steps at once. Master this basic routine first. Add one new step at a time, such as eyeliner, once you feel confident.
Practical Tips for a Smooth Routine
- Do your makeup in the same order each time. A routine becomes faster with practice.
- Keep your everyday products together in one small bag or tray.
- Work in good light, and check your look before you leave.
- Replace products when they change in smell, texture, or color.
- Remove your makeup at the end of the day with your usual cleansing routine.
- Practice on a relaxed day, when you are not in a rush.
If you want a bolder look for a special evening, you can build on this same base. For a more dramatic, festive style, see our Halloween makeup ideas, which focus on creative looks rather than an everyday finish: 20 Best Halloween Makeup Ideas for Women.
Frequently Asked Questions
How long does an everyday makeup routine take?
At first, it may take twenty to thirty minutes. With practice, most beginners can finish in about ten to fifteen minutes.
Do I need primer?
Primer is optional. If your makeup fades quickly, a light primer can help, but a good moisturizer and thin layers are enough for many everyday looks.
Should I use foundation or tinted moisturizer?
Both work. Tinted moisturizer gives lighter coverage and feels very natural. Foundation gives more coverage if you want to even out your skin tone more fully. Choose the one that feels comfortable for you.
How do I make my makeup last longer?
Thin layers, good blending, and a light powder or setting spray on shiny areas can help. Blotting during the day also keeps the finish fresh without heavy layers.
What if I make a mistake?
Most mistakes are easy to fix. Use a clean cotton swab or a small sponge to soften a line, or blend the area gently. You do not need to start over for a small smudge.
Can I wear this look every day?
Yes. This routine is designed to be light and wearable. Adjust the colors or coverage to suit your day, and keep the overall finish natural.
Conclusion
An easy everyday makeup routine does not need to be complicated. With clean skin, a light base, soft eyes, a touch of blush, and a natural lip color, you can create a polished look that feels comfortable and looks like you.
Practice the steps in order, blend well, and start with less product than you think you need. Over time, you will learn your favorite shades, your best tools, and the small adjustments that make the routine your own. That confidence turns a beginner routine into a signature everyday look.
Pingback: Canva Magic Studio for Beauty Creators: Faster Scroll-Stopping Posts
Pingback: Try a New Makeup Look Before You Buy It With YouCam Makeup - Mereio | Honest Product Reviews & Seasonal Deals